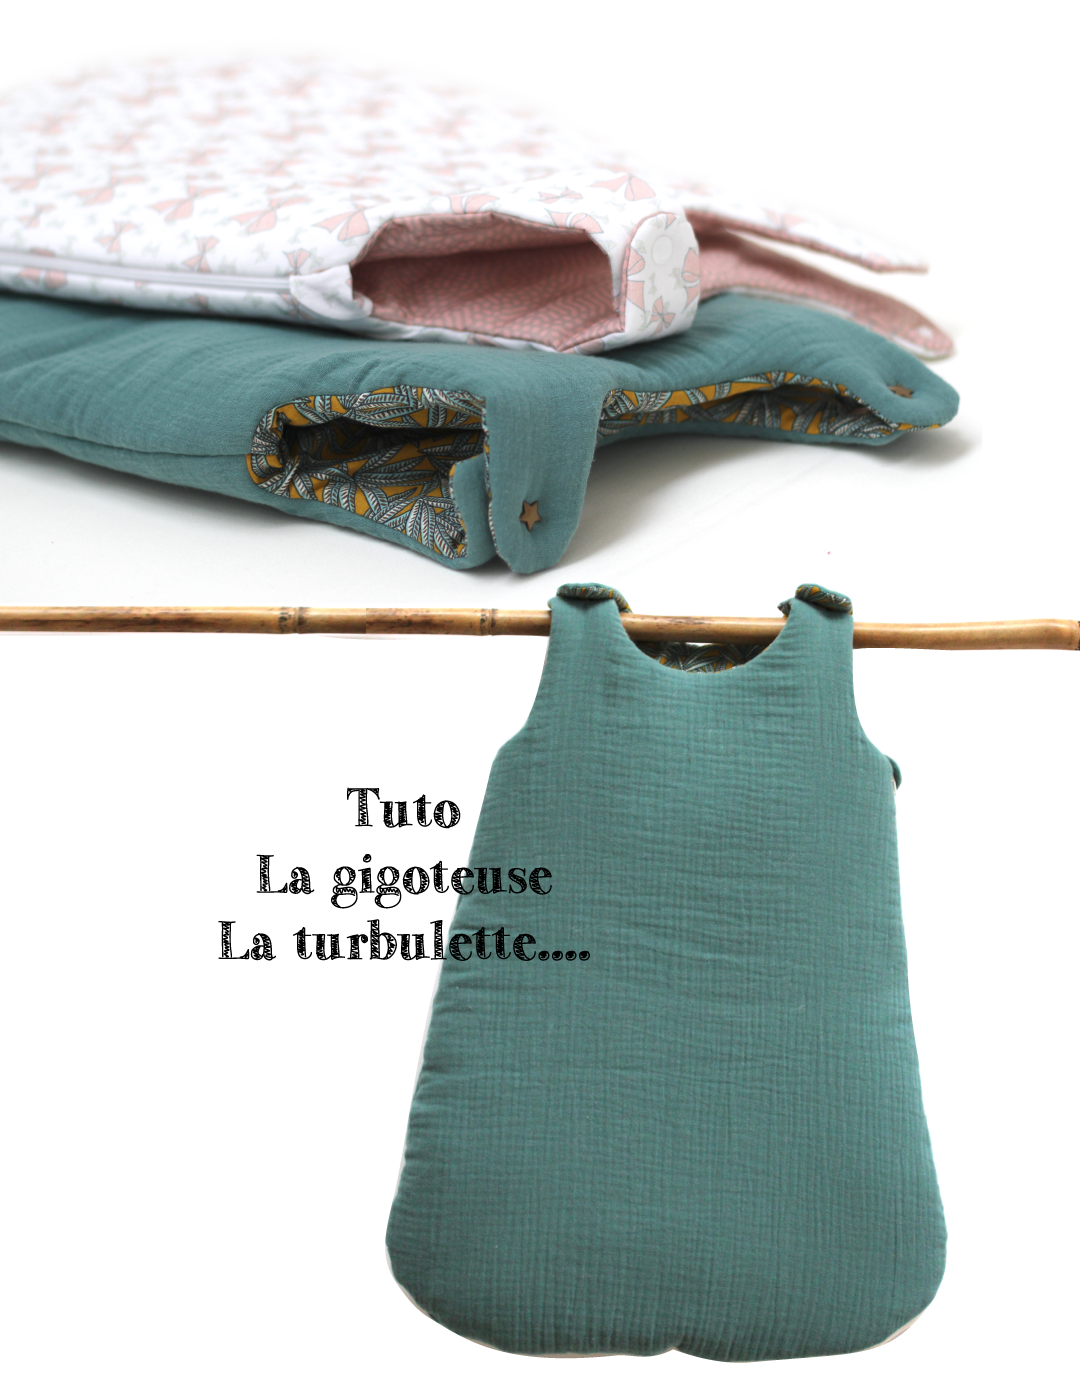
tutorial - sewing a sleeping bag
Sewing mood on for baby! I bring you this tutorial to sew a sleeping bag. Enough to keep them warm for their nights and naps... lucky baby ;-)
Supplies
TO MAKE A SLEEPING BAG SIZE 0-6 MONTHS :
- 1m. double cotton gauze (exterior)
For the exterior of the sleeping bag. You can find multiple colors here.
- 1m. printed cotton
I chose a OEKO-TEX cotton with patterns as lining fabric
- 1m. wadding
Choose the thickness according to the desired heat. I opted for the 150g / m2
more or less 80 cm
- The patron download here
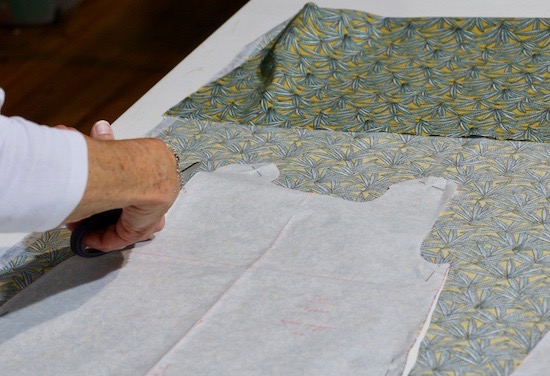
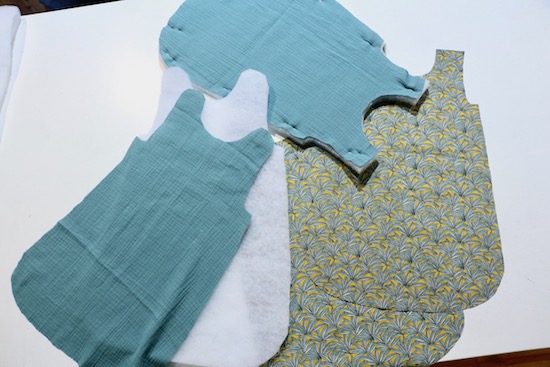
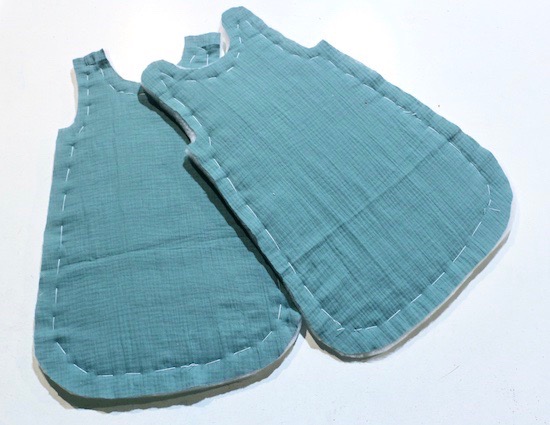
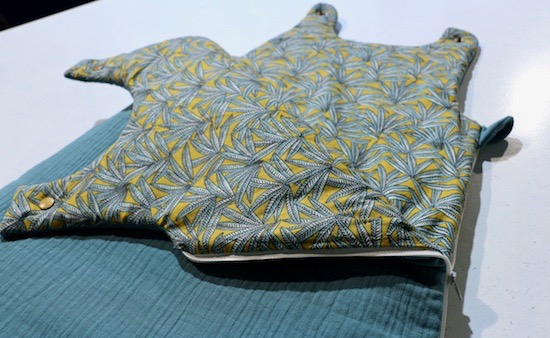
STEP 1 : CUT OUT SHAPES
Download and print the pattern. Transfer the shapes to the fabrics and cut out the pieces of the sleeping bag.
POSSIBLE VARIANT:
Here the front and back shapes are drawn in one piece. If you want to integrate two different fabrics on one side (for example to separate the top of the front), divide the shape in half where you want it and extend the two parts of the pattern by 1cm to integrate the seam allowances.
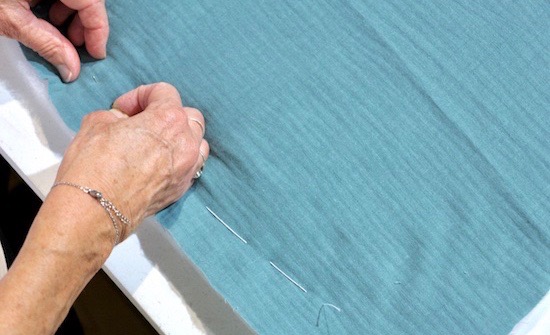
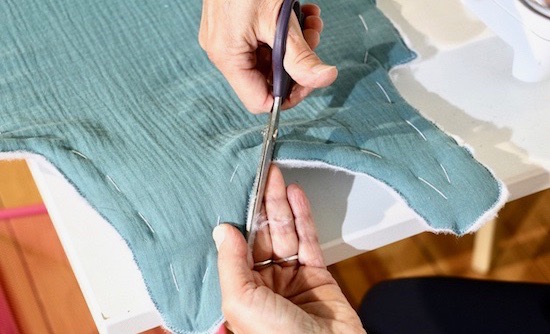
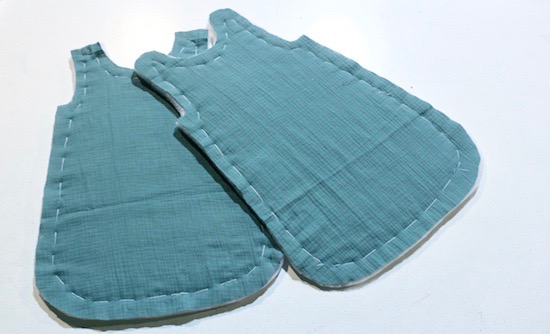
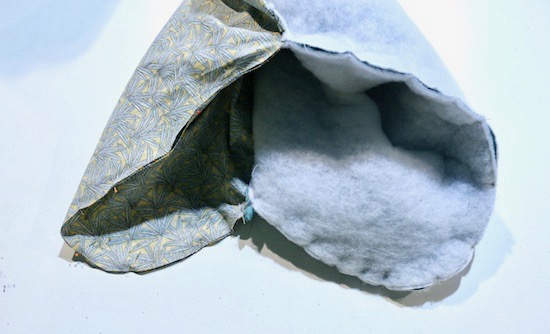
STEP 2 : BUILDING THE WADDING
Take the two pieces of the fabric for the exterior and wadding. Baste (= build) the wadding on the back side of the cotton gauze (my exterior fabric). I did long stitches by hand. This will make it easier to sew it with the sewing machine.
Then serge the edges with the sewing machine and cut off the excess wadding, if necessary.

STEP 3 : PUT THE ZIPPER
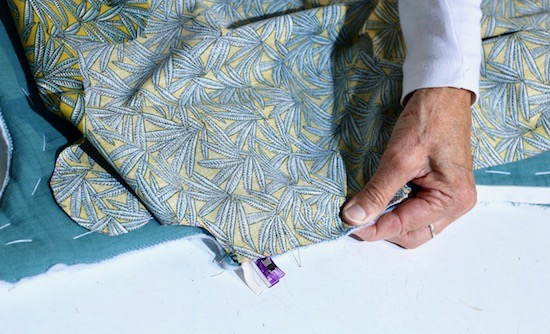
Pin the zipper on the front of the sleeping bag right sides together, edge to edge.
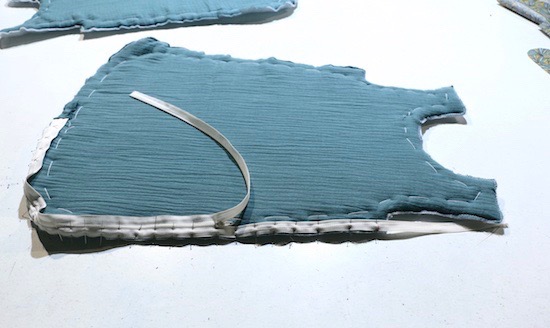
Leave 1cm under the armhole:
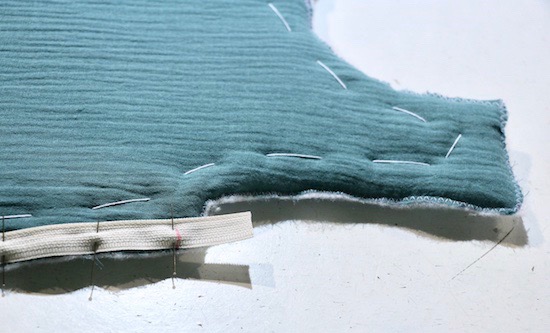
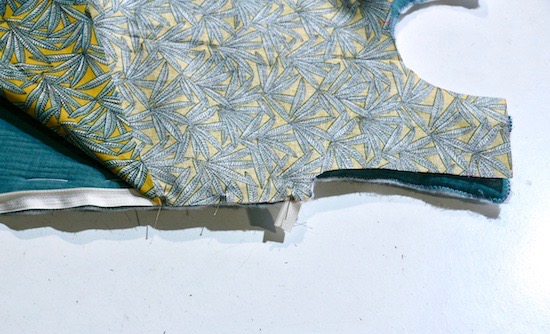
Sew with a sewing machine, starting the seam 1 cm lower than the armhole. You now have this:

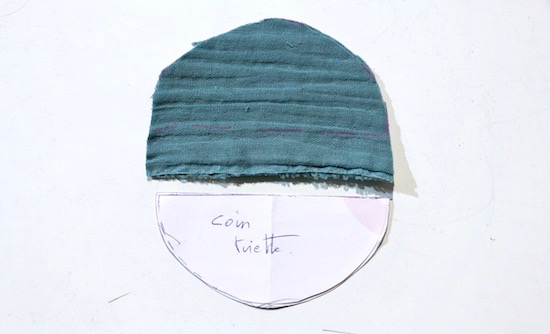
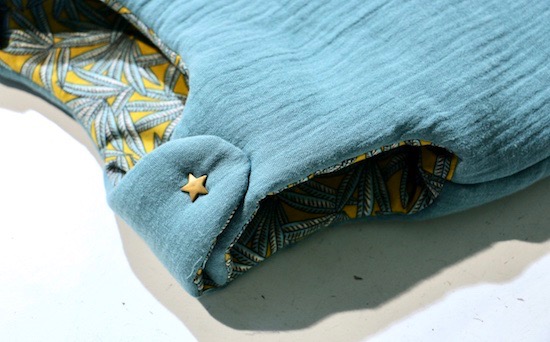
Perform the same action by placing the other side of the zipper on the back of the sleeping bag. I add a zipper corner made with a piece of fabric, for more comfort and to avoid hurting the baby when closing.
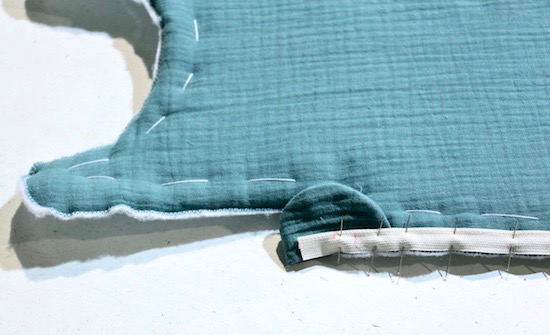
Make now way for the two pieces of lining (my cotton with pattern): pin on the zipper, right sides together, and sew.
The zipper is on!
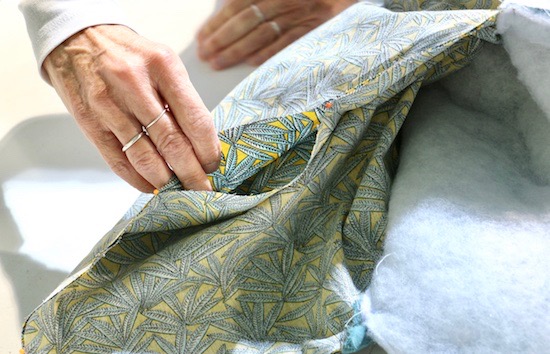
STEP 4 : ASSEMBLE THE TOP OF THE SLEEPING BAG
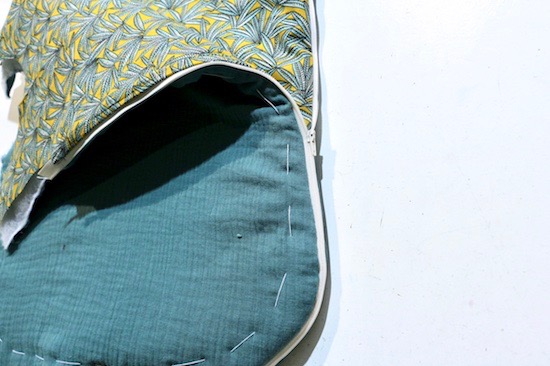
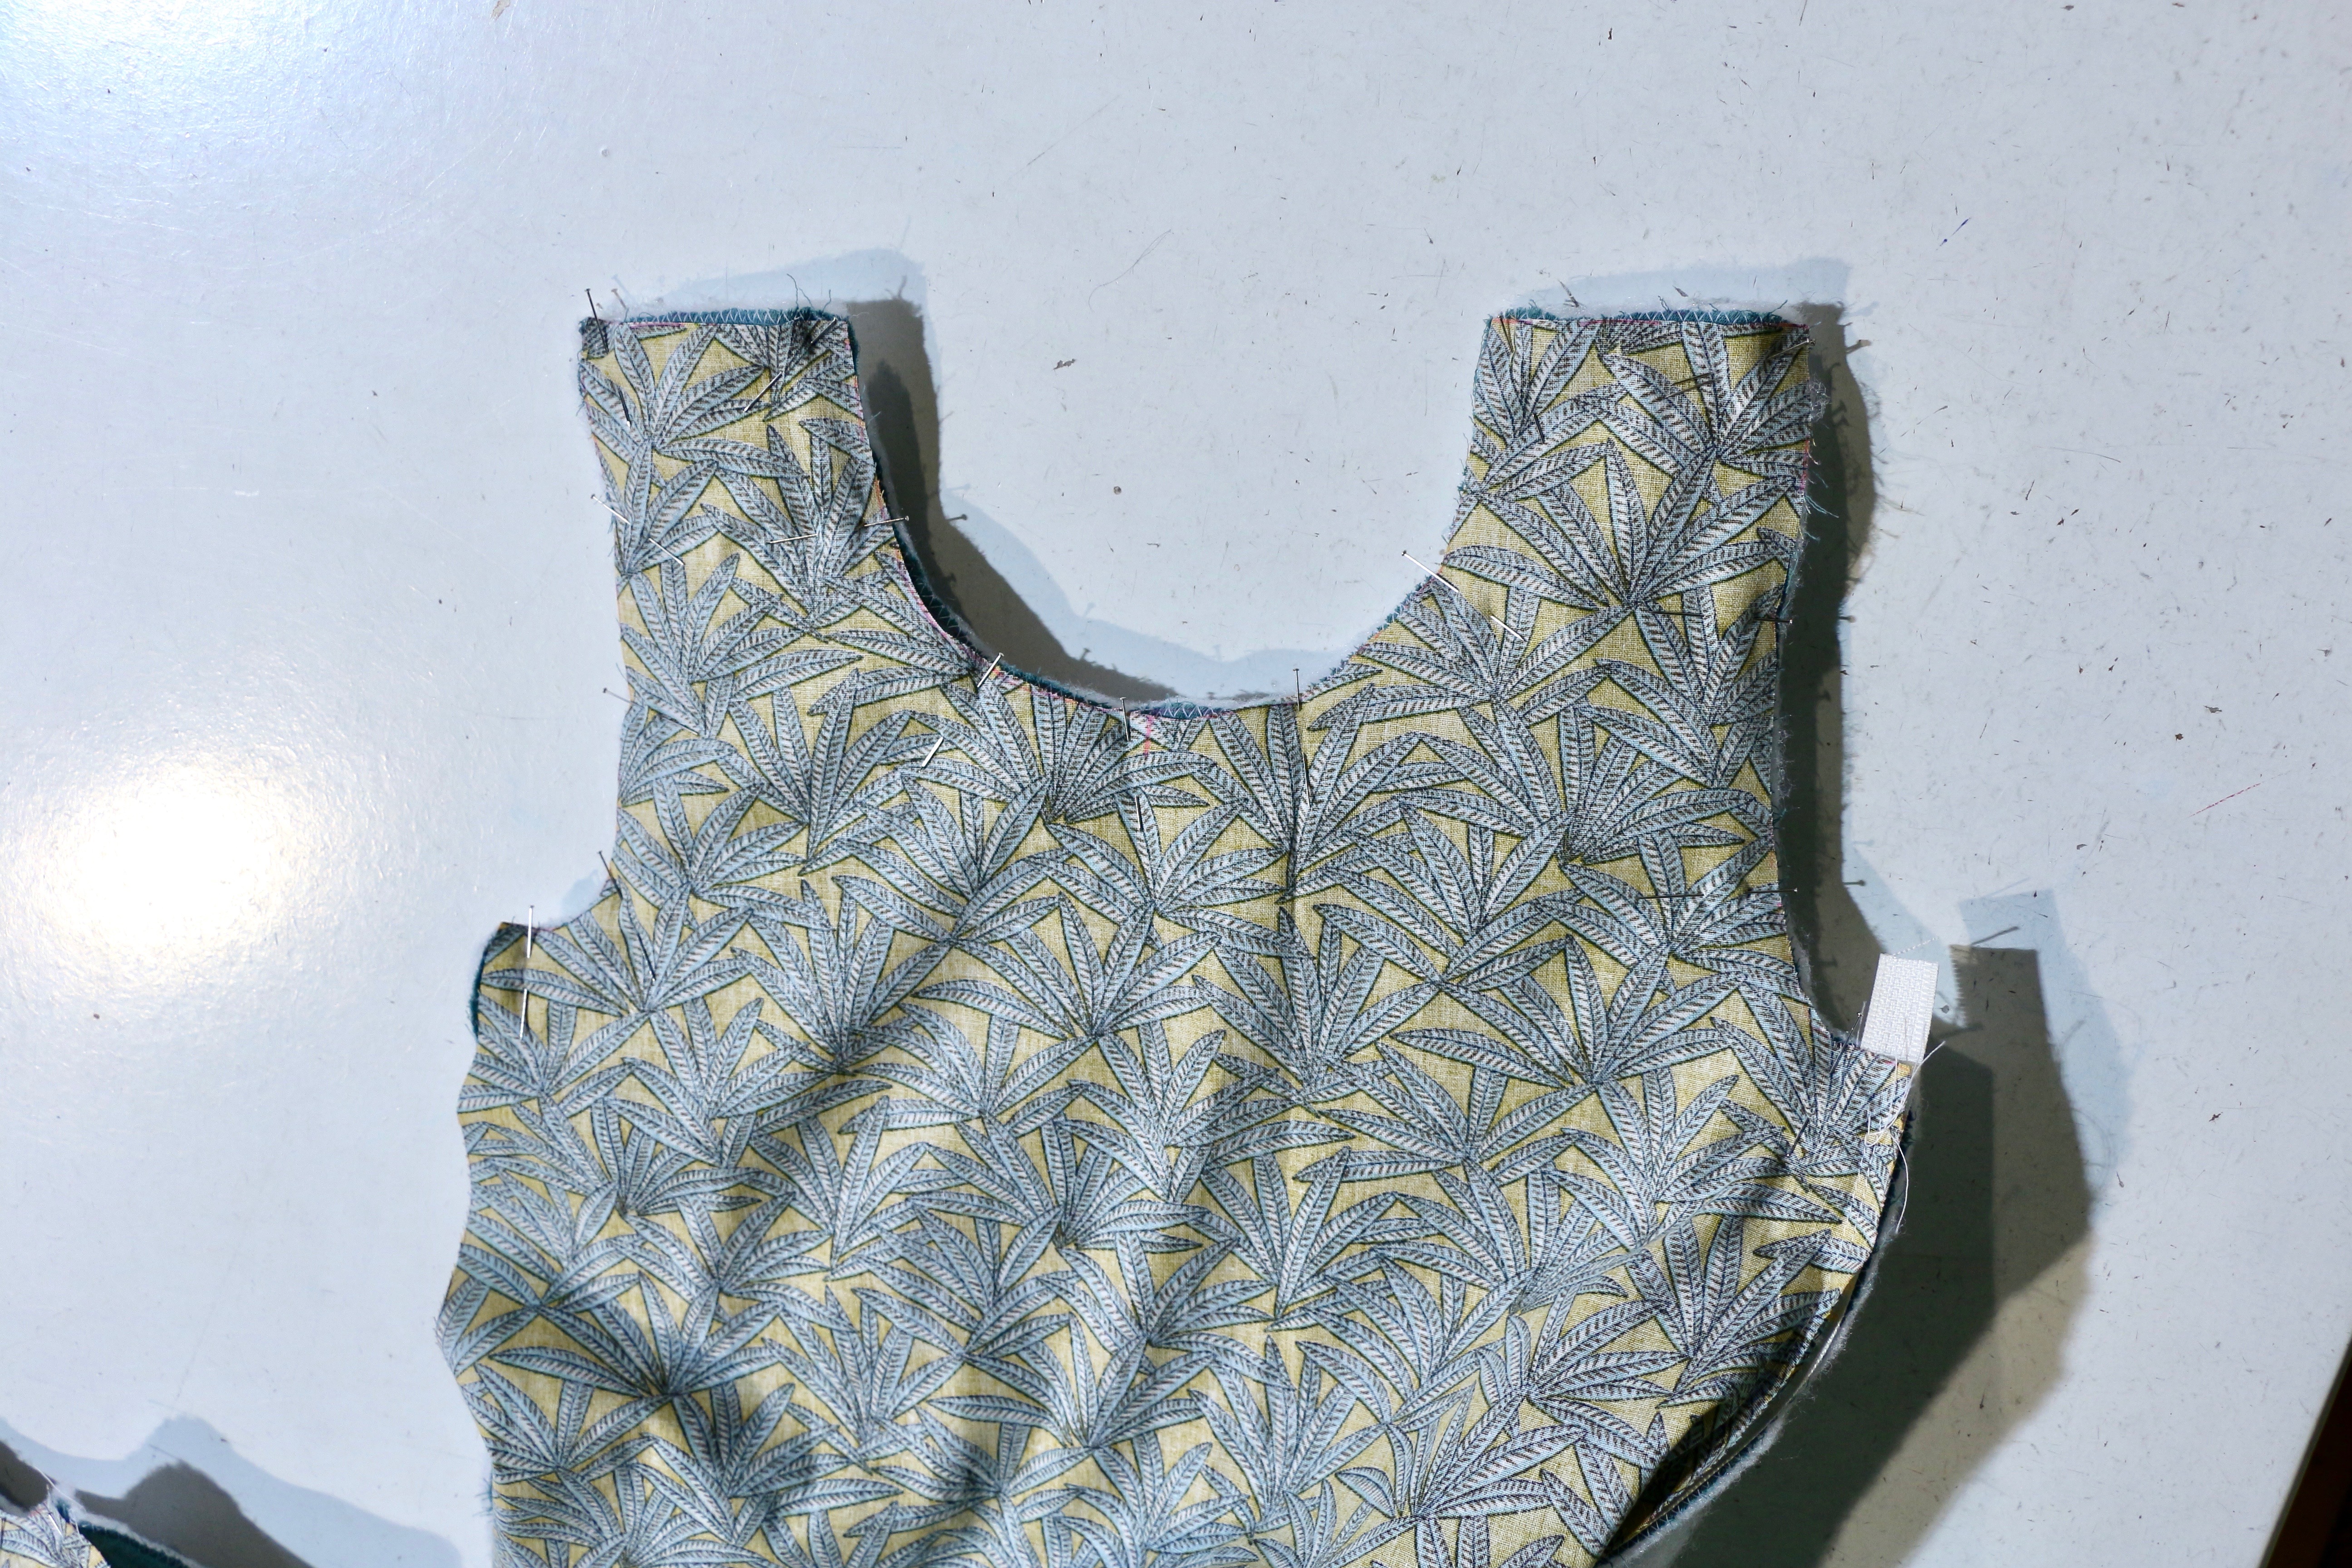
Pin the lining to the fabric for the exterior only at the top at the collar and armholes level, right sides together.
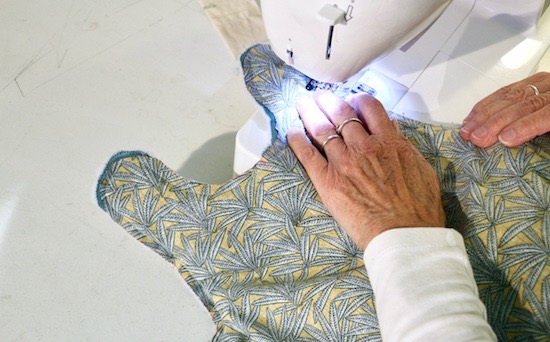
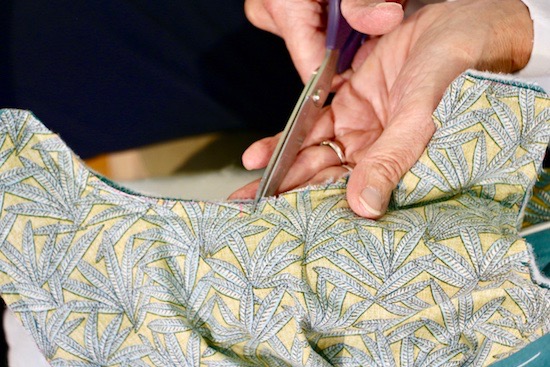
Make a stitch with the sewing machine stitch. Hollow out the corners and notch the edges at the rounded edges to facilitate placement once the piece is turned over.
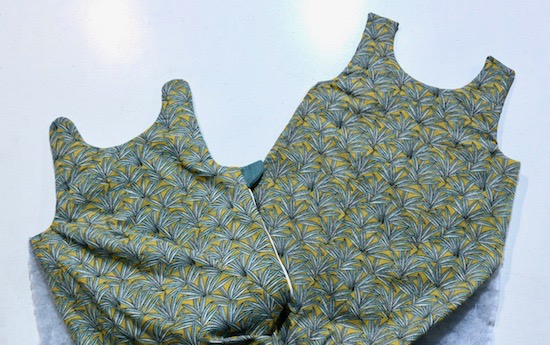
Turn the piece over.
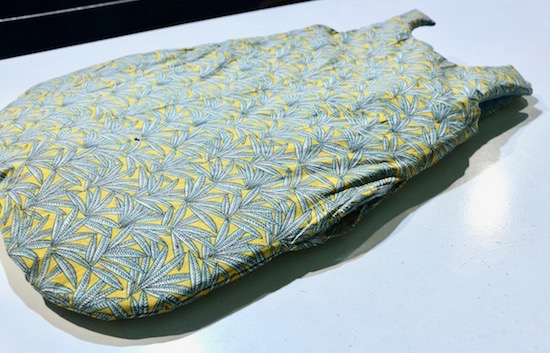
STEP 5 : ASSEMBLE THE LOWER PART OF THE SLEEPING BAG
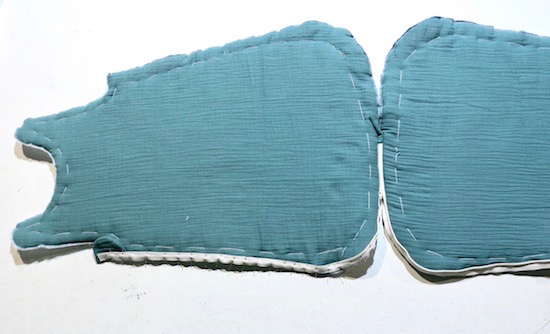
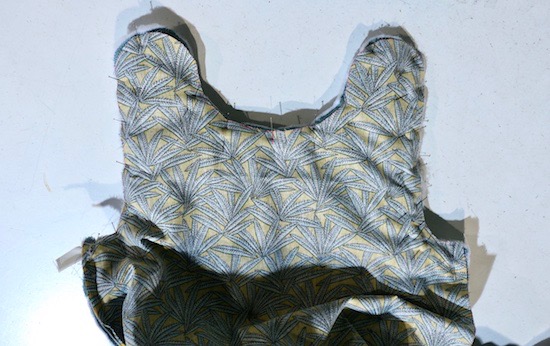
We are going to pin the fronts and backs right sides together. Be careful: unlike the previous step, the lining is pinned to the lining (= cotton) and the exterior fabric to the exterior fabric (= cotton gauze). You now have this:
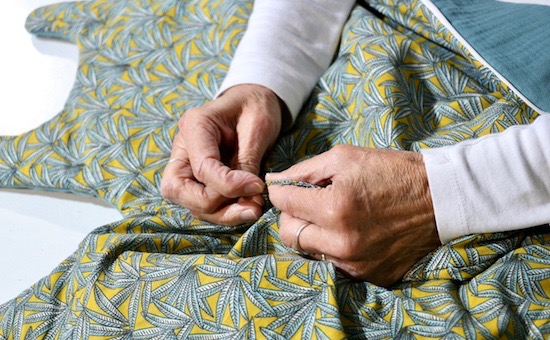
Make a stitch with the sewing machine, leaving an opening of 15cm at the bottom of the lining to turn the item over.
Turn the item over and close with an the invisible stitch.
STEP 6 : SNAP BUTTONS
Place the snap buttons on the shoulders.

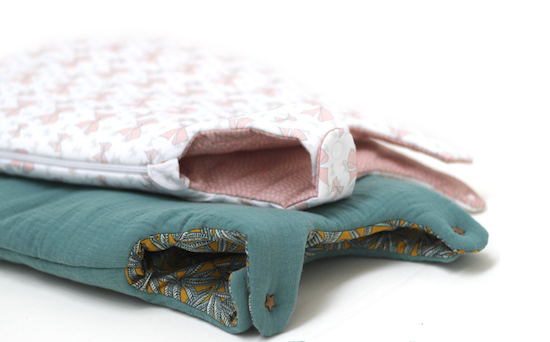
Your sleeping bag is ready !
See you soon,
L.
Les Tissus du Chien Vert - 05/23/2024 09:25:12
Bonjour Véro, Pour le coin tirette vous pouvez le découper à la main selon vos désires, en vous servant d'une chute. 5CM suffisent ;-) Bonne couture !
Vero - 05/20/2024 21:03:59
Bonjour , pour le coin tirette , peut on avoir les dimensions s’il vous plaît , il n’y a pas de patron à imprimer Merci ☺️
Les Tissus du Chien Vert - 04/03/2024 08:15:02
Bonjour Laurence, Il s'agit des "color snaps" étoile doré ref. 12814 ;-) Veillez à ne pas utiliser une ouatine trop épaisse. Bonne couture !
Laurence - 04/02/2024 10:18:52
Bonjour et merci pour ce tuto Quelles sont les références de vos pressions ? Car les miens ne tiennent pas ! Je souhaite mettre des métalliques Merci beaucoup
Les Tissus du Chien Vert - 09/07/2023 11:10:36
Bonjour Marie, On a aussi utilisé une tirette au mètre. En réalité le coin tirette reste toujours libre. Et une fois l'assemblage de la gigoteuse terminé (étape 4) vous pouvez consolider le bord supérieur du coin tirette avec une piqûre. Si ça vous semble trop difficile pas de panique, faites sans le coin tirette, il n'est pas obligatoire ;-) Bonne coutre !
Marie - 09/07/2023 09:47:17
Bonjour, Je suis en train de réaliser une gigoteuse avec votre tuto mais je bloque à l’étape de l’ajout du coin de tirette… J’utilise un zip au mètre ; comment parvenez-vous à prendre le zip dans la couture en ajoutant le coin de tirette ? De mon côté le coin de tirette recouvre le zip et je ne peux plus le coincer dans la couture pour éviter que le curseur ne s’échappe… Merci d’avance pour votre retour !
Habaru Annie - 08/24/2023 20:47:28
Super ! Très belle réalisation pour mon petit fils. Merci
Les Tissus du Chien Vert - 06/19/2023 08:51:40
Bonjour Robert, Le tissu coton végétal utilisé pour ce tuto n'est plus disponible. Il s'agit d'une ancienne collection ;-) Bien à vous,
Robert - 06/18/2023 22:31:50
Bonjour, je ne trouve pas le tissu en coton sur votre site. Pouvez vous me renseigner? En vous remerciant Cordialement
Camille - 03/18/2023 18:20:25
Je viens de terminer la Gigoteuse, j’ai un peu adapté pour pouvoir faire un rembourrage amovible mais ce tutoriel est vraiment super ça m’a énormément aidée ! Merci beaucoup ☺️
Doriane - 02/18/2023 23:12:16
Je découvre vos conseils. Je vous remercie . Ya plus qu'à me lancer. Bravo pour votre beau travail
Aline - 12/21/2022 18:36:40
Super merci beaucoup
Les Tissus du Chien Vert - 04/12/2022 10:44:56
Bonjour Joséphine, La laize = la largeur du tissu ;-) Si elle fait 140cm, pour une taille 0-6mois, une quantité de 1m. de tissu suffira. Bien à vous,
Joséphine - 04/12/2022 10:38:05
Bonjour, Je débute un peu en couture, et j'aurais aimé savoir pour une laize de 140cm, de combien de largeur de tissus ai-je besoin ? Bonne journée!
Les Tissus du Chien Vert - 02/21/2022 10:51:58
Bonjour Nathie, Non elles sont comprises ;-)
Laetitia - 02/09/2022 11:44:10
Bonjour, j'aurai voulu savoir s'il faut ajouter les marges de Couture ? Cdlt
Nathie - 01/29/2022 21:49:04
Votre tuto est très claire merci j ai hâte d essayer ça !