DIY the triangle scarf
The scarf, an essential fashion accessory for when you go to take some.... fresh air !. This is a variation of the large square scarf tutorial that you can discover here. Here is the tutorial of the triangle scarf this time:
Material:
To make your triangle scarf :
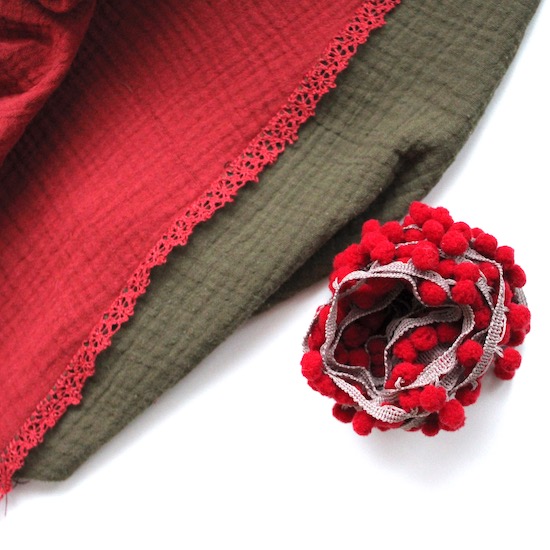
- 2 squares of 1x1m, fabric of your choice... (only one square is enough if you use the same fabric for both sides> see step 1)
I prefer light and flexible fabrics. Double gauze is my favorite at the moment :-)
- 2,10m piping cord, braid trim with pompon or another ribbon of your choice
- Pair of scissors
- Sewing thread
- Pins
- 2 snap buttons (or 2 classic buttons)
Step 1 :
Cut your 2 squares of fabric diagonally to have triangles. So if you want two mismatched sides you will have enough to sew two scarves.
Note : If you want the same fabric for the wrong side and the right side, you cut your square in half diagonally to make a scarf. But if you want a different front / back, cut two squares (and get 4 triangles) to make two scarves.
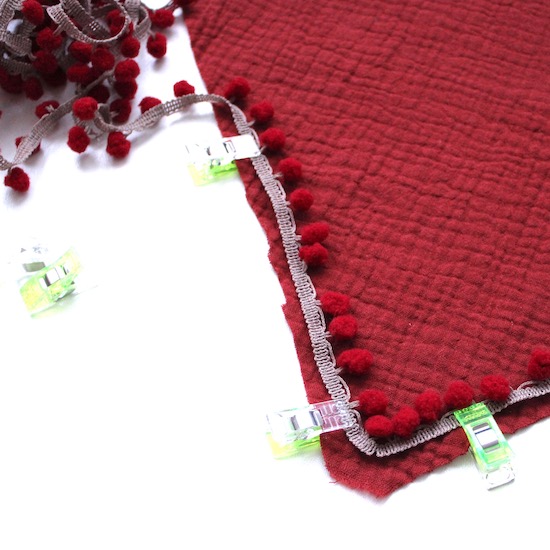
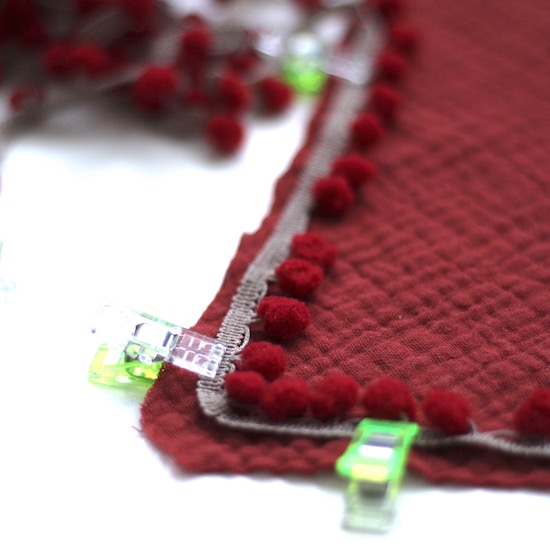
Arrange your piping cord (or braid trim) on the right side of one side of the scarf, along the two short sides as shown in this diagram:

Sew it with a straigth stitch.
Step 2 :
Take the other triangle (side 2 of your scarf) and pin it on the first one right sides together.
Sew while using the first stitching (the on of the braid trim) as a guide and continue on the third side, remember to leave an opening to turn your scarf over.
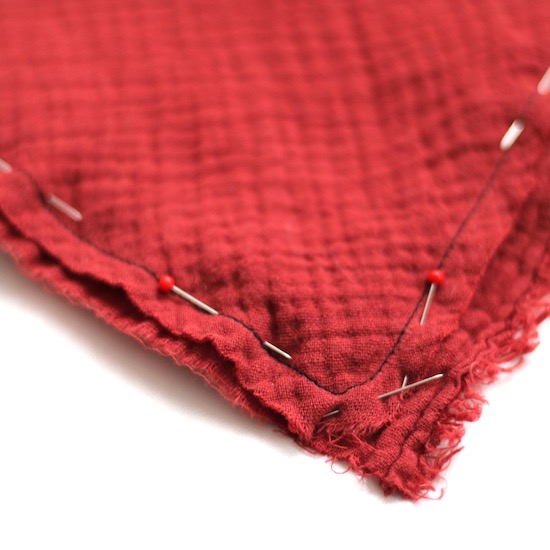
Remove the excess at the three points and turn over. Close with a blind stitch by hand.
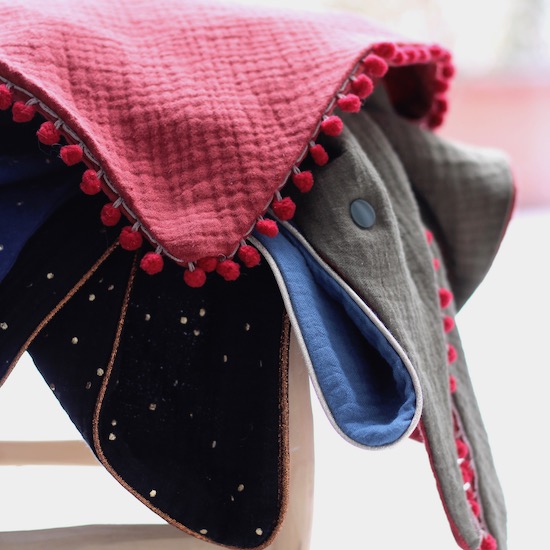
For the snap buttons, you are quite free. Each time, I put my scarf on and place a mark as I wish ... I don't know why, depending on the fabrics, I never put snap buttons at the same place. Here is the result :

See you soon,
L.