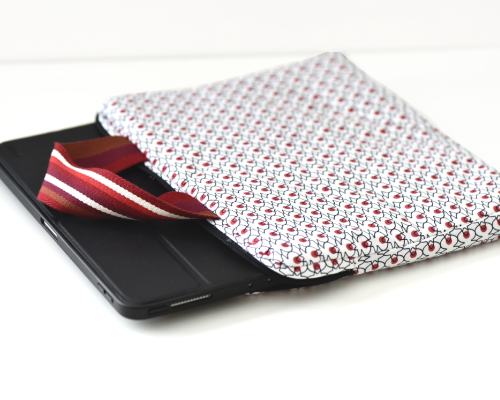
DIY the tablet sleeve
A nice sleeve to store your tablet. Here is a useful accessory :-) Do not hesitate to adapt the measurements according to the size of your precious tablet. My tablet measures 25x20cm. So I have a finished sleeve of 27x21cm. Here we go!
Material
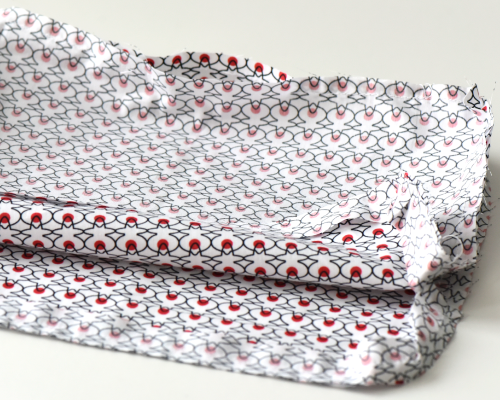
- a cotton fabric cloth
50cm is more than enough (with a width of 140cm). I chose two different patterns (exterior + lining) in the exclusieve collection By Léa >
- a piece of viseline H640 >
50cm is more than enough. According to your preferences, if you want more of a "cardboard" cover, you can choose for the viseline decovil >
I chose a 45cm long one.
To make your handles.
Step 1 : Cutting and stabilize
Take your cotton fabric and cut your pieces:
- 4 rectangles of 29x23cm (exterior + lining)
- 2 strips of 4x60cm
- 4 strips of 2x43cm
Next, take the viseline and cut :
- 2 rectangles of 29x23cm
- 1 strip of 4x60cm
- 2 strips of 2x43cm
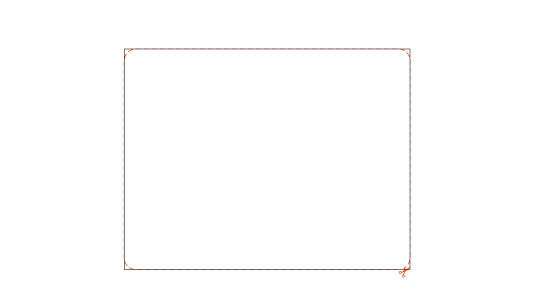
For the large rectangles be sure to round the edges. Stabilize the front pieces of the sleeve (not the lining) and the strips. Do not use steam: the stabilizer sets with heat and small pressures of a few minutes are sufficient.
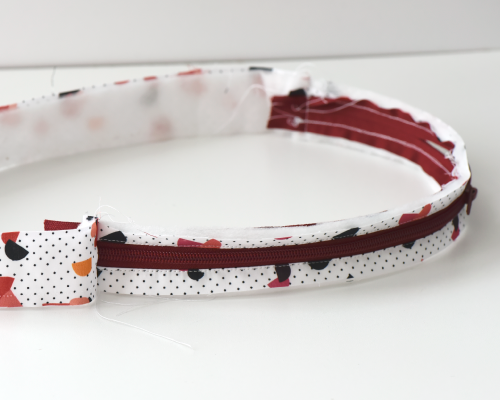
Step 2 : the zipper
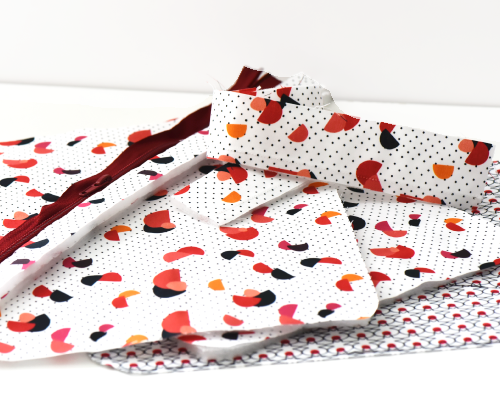
Start by placing the zipper on the stabilized strips of 2x43cm.
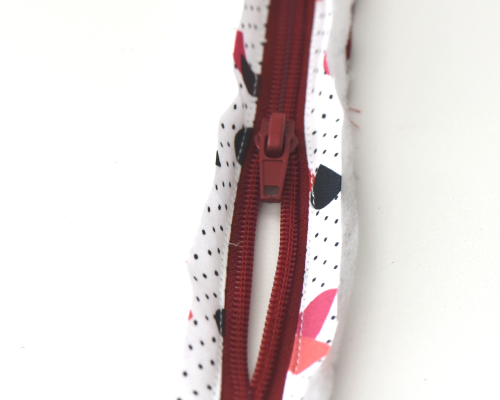
Then place the 4X60cm strip at both ends of the zipper to form the outline of your cover. You get this:
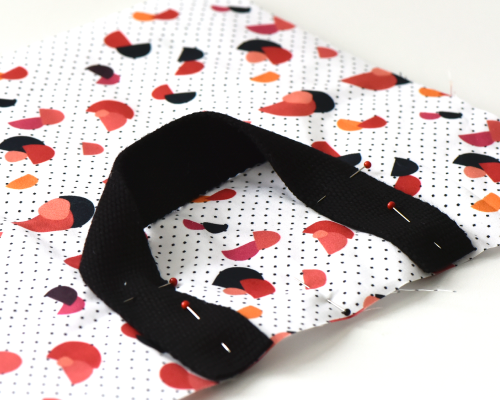
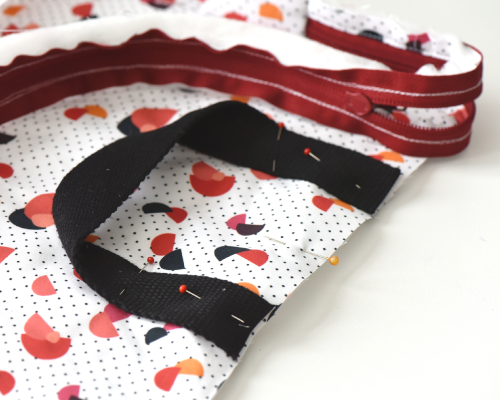
Step 3 : the handles
Divide your piece of strap in 2 to obtain 2 handles. Pin them each on the 2 front sides (exterior) well in the center. I left 10cm apart.
Step 4 : making the pocket
Take your the outline of the sleeve and sew it on one side right sides together. Do not forget to notch the roundings for a better fit when turned over.
Repeat for the second side, leaving the zipper open.
The front is ready.
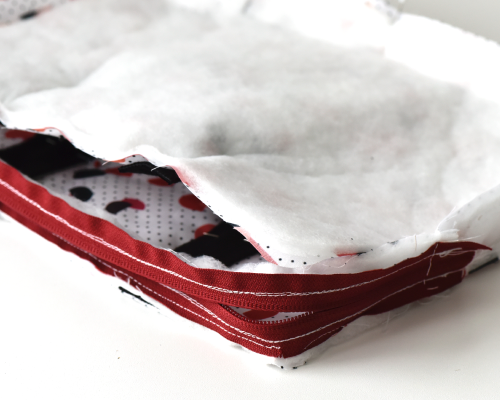
Step 5 : the lining
Repeat the step while adding the lining. There are two ways to do this:
1. You start with the closure and build the whole thing up as in the previous steps, remember to leave an opening so that you can turn it over.
2. Assemble the lining separately and add it to the cover later. This is how I proceeded. So I sew the sides, right sides together, of my lining and leave an opening of 10 cm.
I then fit the sleeve (front side) into the lining right sides together.
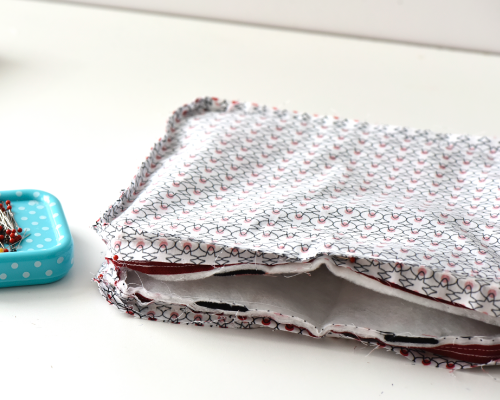
I pin and sew a straight seam. I turn the work over and finish with a nice hand stitch in places that are hard to reach.
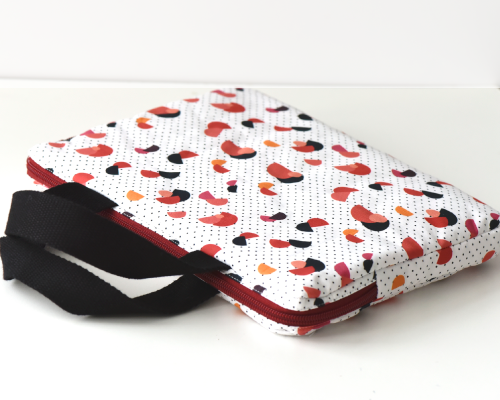
Tadaaam... Your tablet sleeve is ready !
See you soon,
L.
Laurence - 07/21/2024 15:10:40
Superbe pochette merci pour le tuto!
Geraldine - 11/10/2023 22:15:55
J’espère y arriver
Les Tissus du Chien Vert - 04/18/2023 14:29:18
Bonjour Marion, Oui oui tout à fait! Bonne couture,
Marion Querrec - 04/18/2023 08:53:16
Bonjour les valeurs de couture sont elles comprises. Marion