DIY the multi-pocket apron
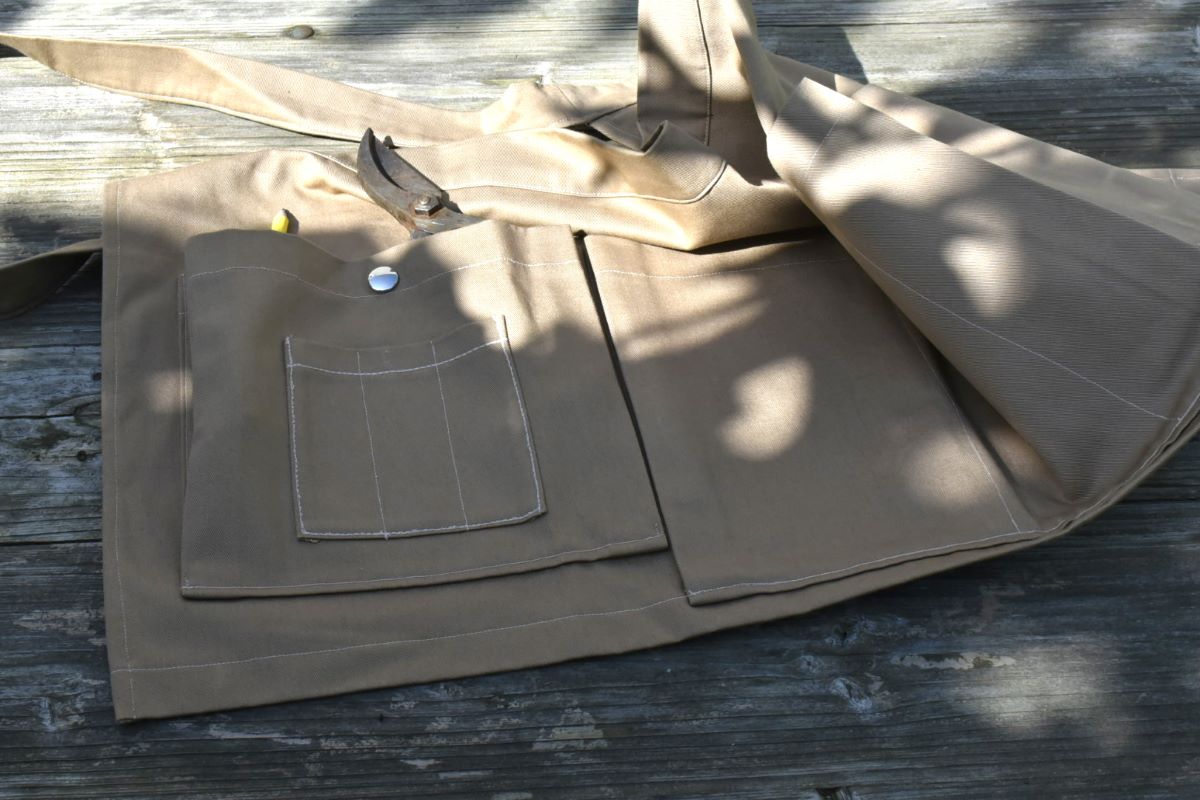
For him or her, here's how to sew a practical multi-pocket apron for gardening, DIY or sewing. The apron has three gusseted pockets for various tools. Choose strong fabrics such as twill weaved cotton, denim, polyester cloth or gabardine, and off you go:
Material:
- 50CM fabric
For this model I chose this cotton with twill weave for dad when he goes gardening. For my sewing projects I made another belt with this denim fabric.
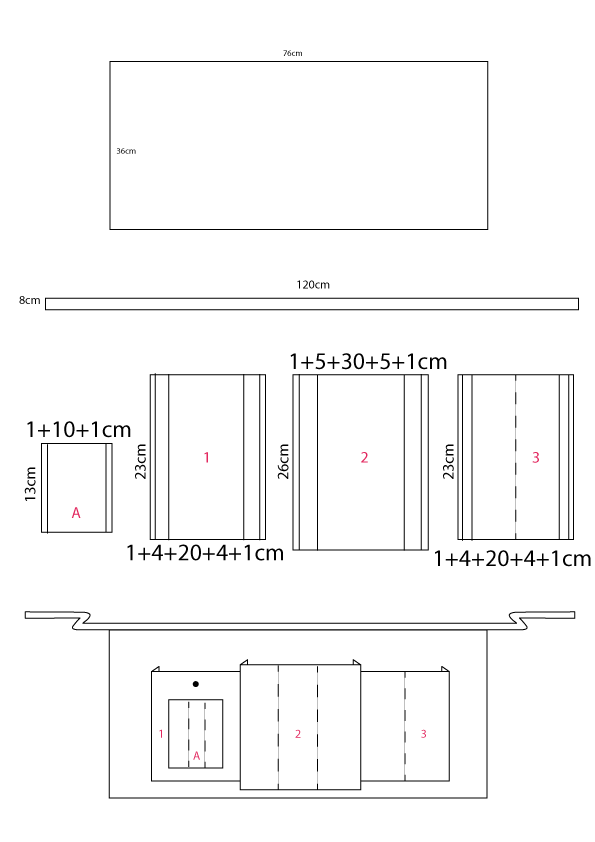
Step 1 : cut out the shapes
Start by cutting out all the pieces that will be used to make the apron. Here's a diagram of the cuts and folds below. Seam values included.
Step 2: Put the apron together
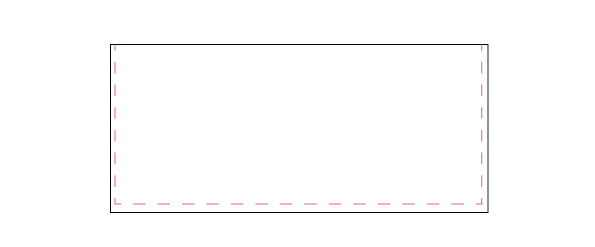
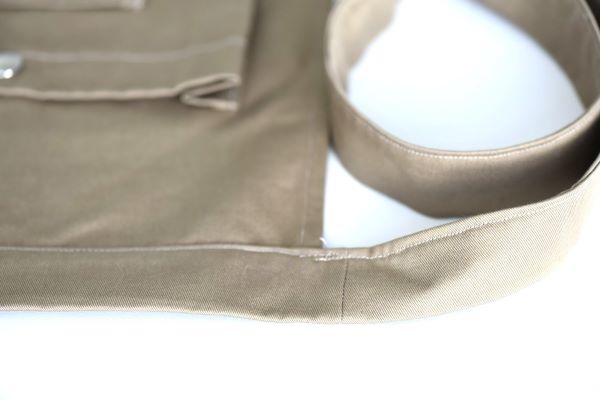
Take the large piece and hem both sides at 1cm of the edge. Then hem the bottom 2cm from the edge.
Take the long strip to be used as a belt. We'll lay it on like a saddle bias.
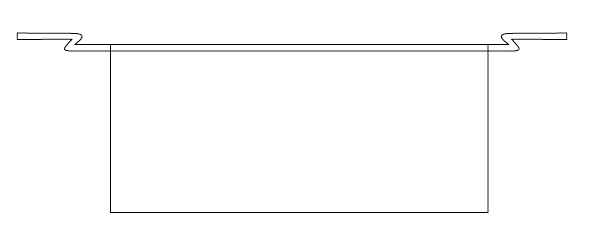
Pin the right side of the waistband to the wrong side of the apron body and make a straight stitch 1cm from the edge.
Fold the strip right side out, having first folded in 1cm of seam allowance. Sew along the entire length, a few milimeters from the edge. Your apron is formed.
Step 3: Pockets for the tools
I chose to install three gusseted pockets centered on the body of my apron. The gusset is very useful to obtain a greater volume capacity for easy storage of tools and accessories.
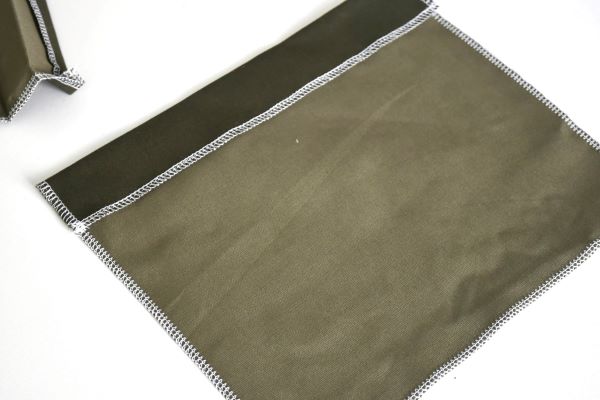
Start by oversewing the edges of each piece. We'll use the same procedure to make and fit each pocket.
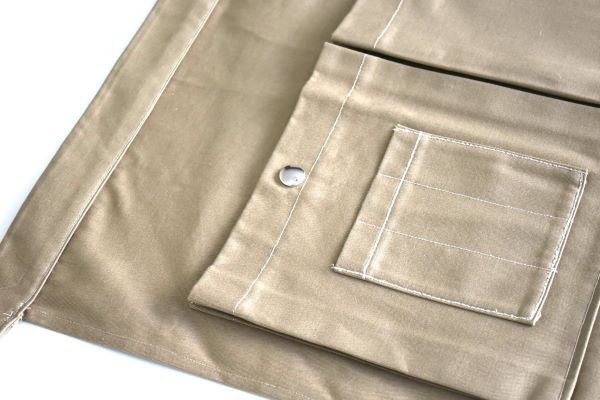
Here I show you the variant of the left pocket, on which I've placed a snap button and superimposed a small compartmentalized pocket. The other two gusseted pockets are compartmentalized without snaps. It's up to you how you want to accessorize your belt ;-)
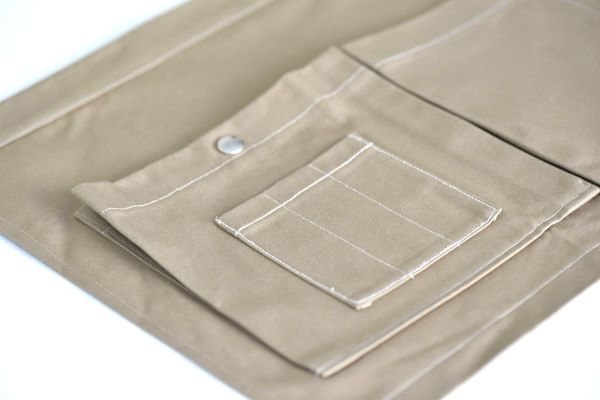
Here we go: take your oversown piece and sew the little extra pocket in the center. I "compartmentalize" it with straight stitched lines. Handy for holding small items.
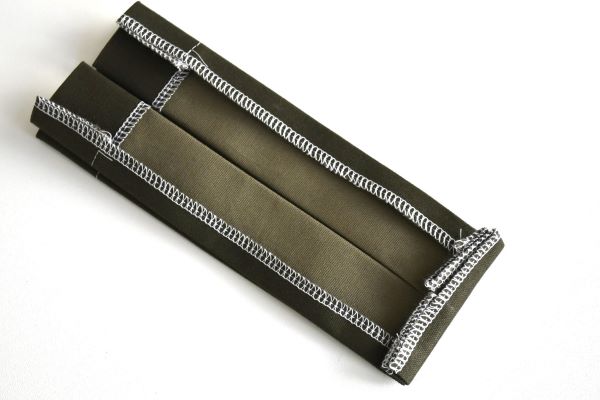
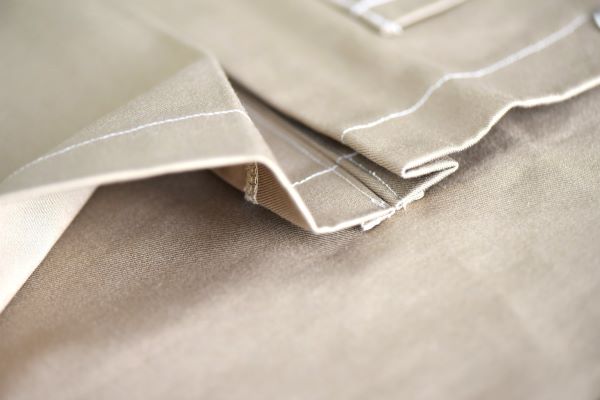
The gusset is a folding game, as shown in the photos below. Be sure to mark each fold with an iron.


Place the pocket on the front of the apron: pin the bottom of the pocket and sew a few millimeters from the edge.
Mark again with an iron to "press" it correctly onto the apron. Pin to hold in place and stitch along the first pleat in straight stitch. A triangle fold will give you access to the bottom of the pocket.
I have added a snap button. Done !
All you still need to do is to finish your DIY apron with the other pockets. You can also add loops to hang other types of tools. Customize it as you want to suit your needs!
See you soon,
L.