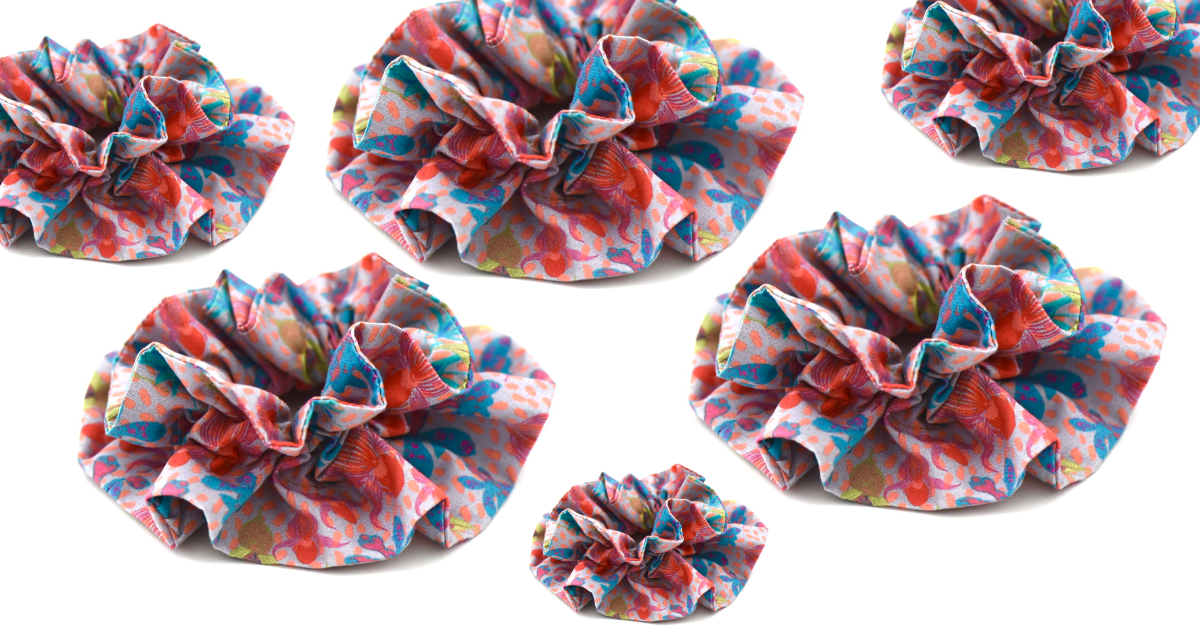
DIY sew a scrunchie
Wear your own "handmade" scrunchies. It is a practical accessories that's very in fashion at the moment ;-) Next to that, it is a nice way to use your scraps of fabric. Here is the tutorial ...
Material :
- 2 fabric cloths of your choice - 70x15cm
- 1 elastic of 15cm
Step 1 : Assemble the scrunchie
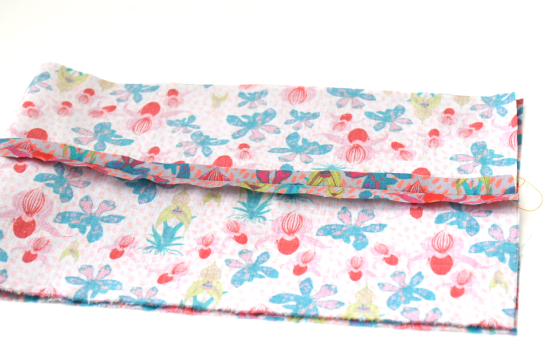
Cut out your 2 pieces and arrange them right sides together.
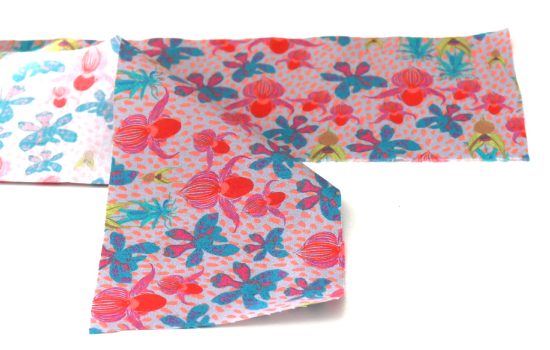
Sew a seam on only one of the long sides.
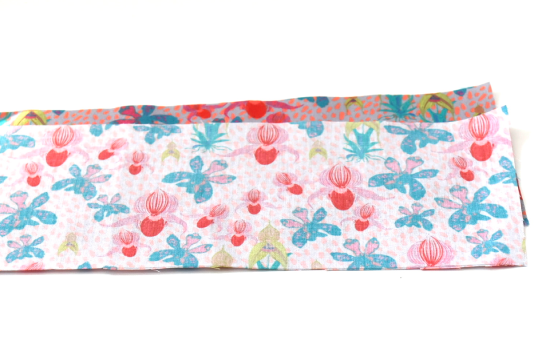
Open it then fold the length in 2.
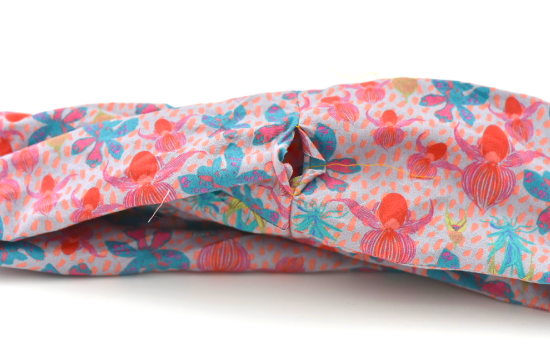
Mark at 4cm then at 3cm on one of the edges and sew. This opening will allow you to turn the scrunchie at the end.
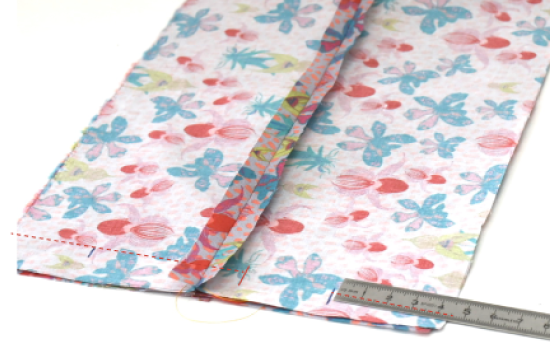
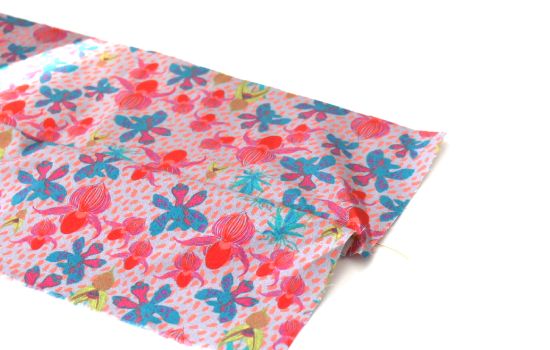
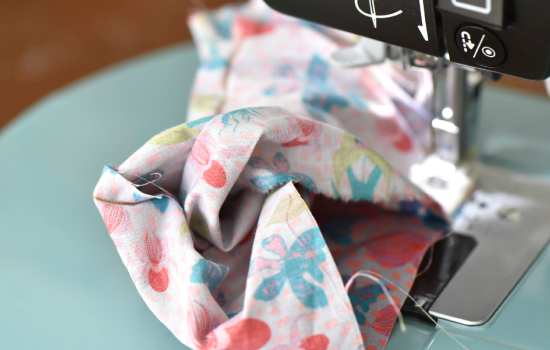
arrange the piece as on the picture with the perpendicular seam at the bottom.

Pinch the top 2 fabrics to catch the bottom 2 so that you can position them on top of each other.
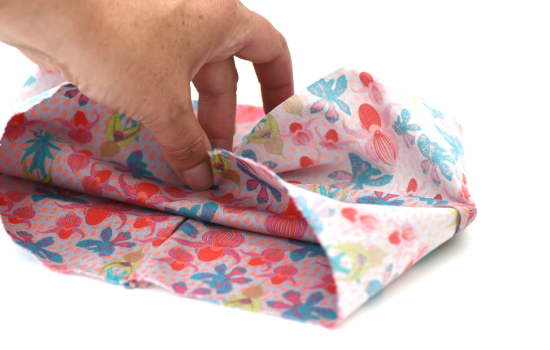
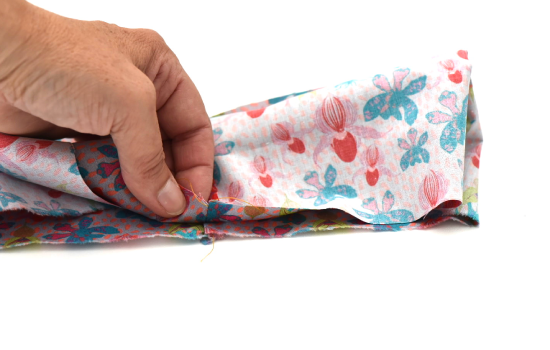
Pin to hold everything in place and sew around the edge (it sounds complicated but you'll understand when you're busy sewing). It is necessary to take the fabric little by little in order to make the circumference.
Then turn the scrunchie over and iron it.

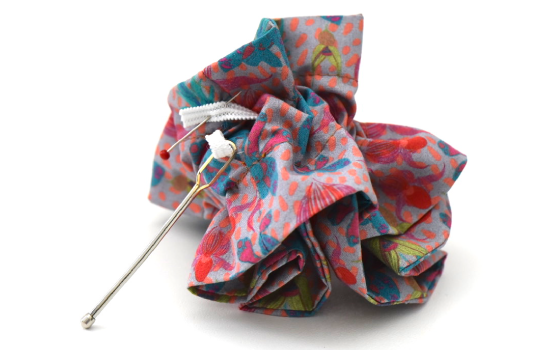
Step 2 : The elastic
Before inserting the elastic, make 2 seams at 3cm along the entire length of the scrunchie. This will serve as a guide for the elastic.
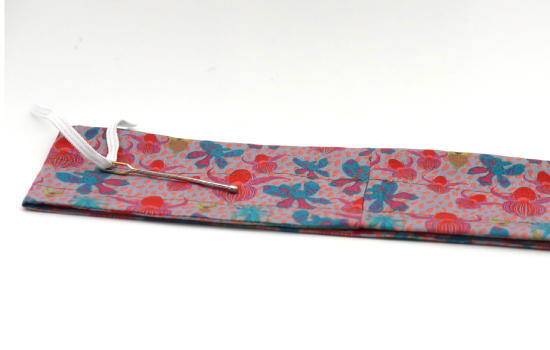
All you have to do is insert the elastic and tie a good knot ...
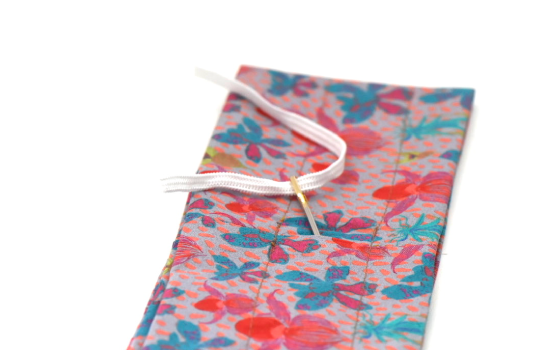
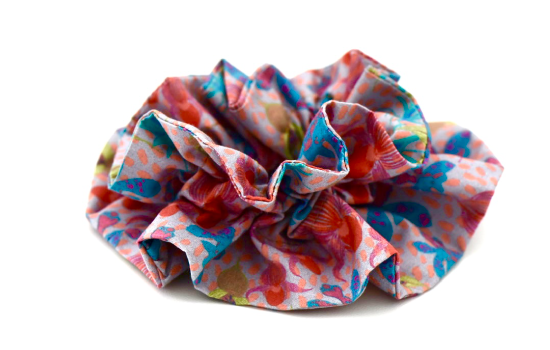
Close the seam and your scrunchie is ready!