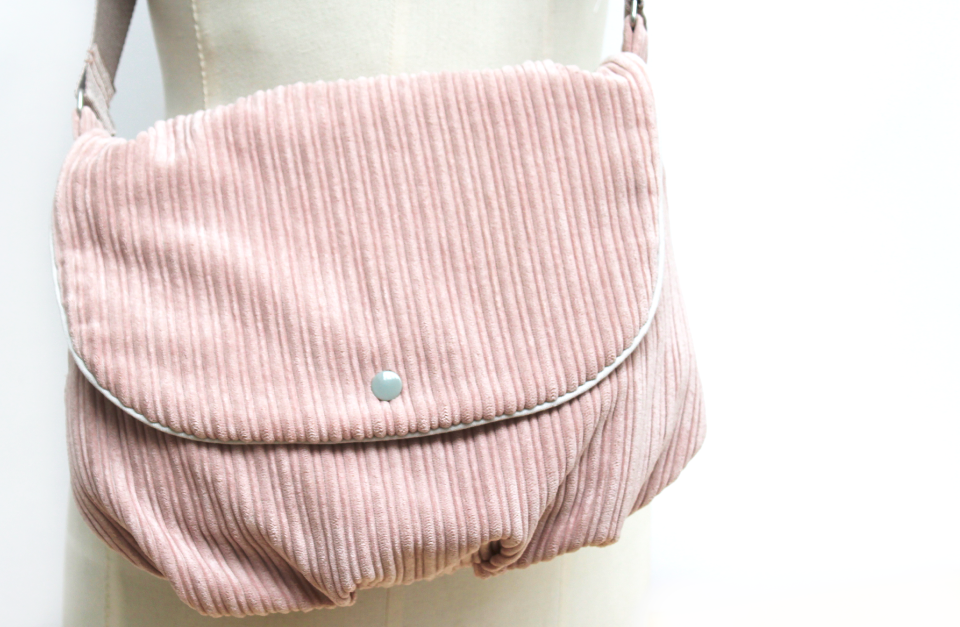
DIY the messenger bag
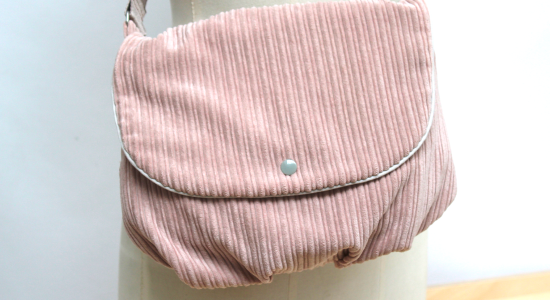
A new type of pretty and practical handbag to carry the minimum: I am talking about "the messenger bag" ! You can wear it over the shoulder and has a removable flap on the front. Here is the step by step tutorial ...
Material:
To sew your messenger bag you'll need :
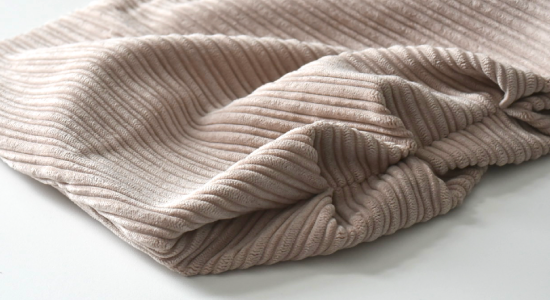
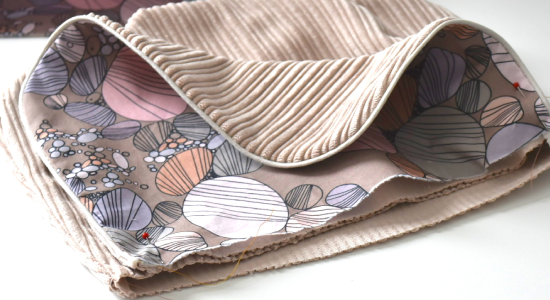
You can choose fabric cloths in the materials you prefer : faux leather, coated, cotton... For this one I chose a curdory velvet for the bag and a cotton with patterns for the lining.
- for the body : 2 fabric cloths of 35x27cm
- for the lining : 2 fabric cloths of 30x24cm
- for the flap : 2 fabric cloths (one similar to the fabric for the body and one similar to the lining) of 30x24cm AND 70cm piping cord
- for the strap : I chose a length of 65cm to have the bag close to me. To be adjusted according to your size.
- 2 metal buckles
- The pattern to download >
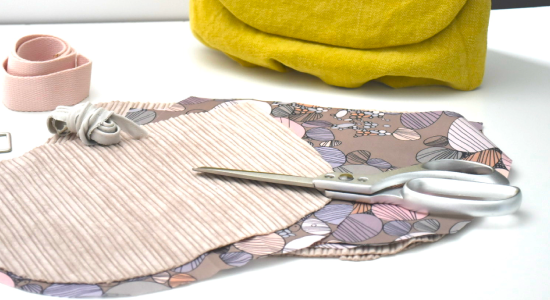
Step 1 : The fabric cloths
Start by transferring the pattern pieces then cut your fabric pieces.
Step 2 : The body
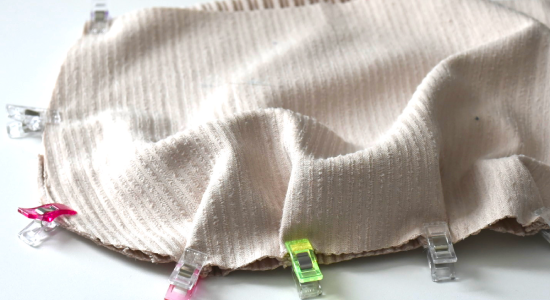
Arrange the 2 pieces of the body by making folds as indicated on the pattern.
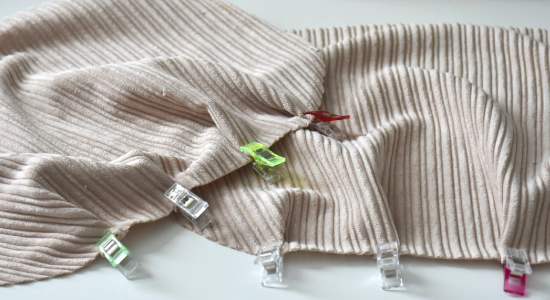
Superimpose the pieces right sides together by matching the folds and make a straight stitch.
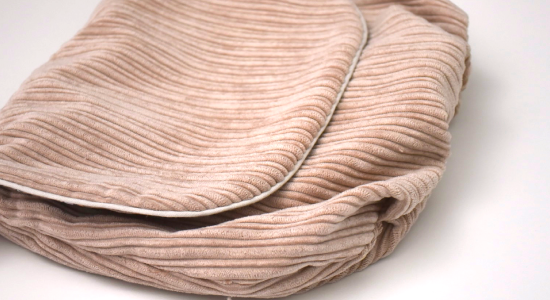
Turn it over : the body of the bag is ready.
Step 3 : the flap
The the two pieces of the flap.
On the "bag" side (mine is in velvet) place the piping cord by using pins or patchwork clips and make a straight stitch.
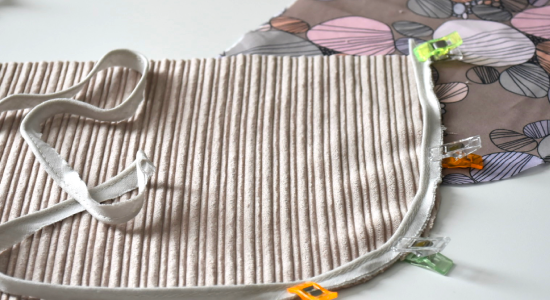
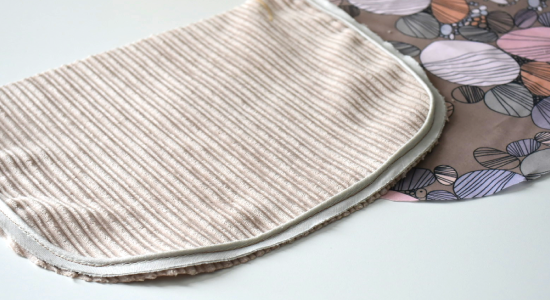
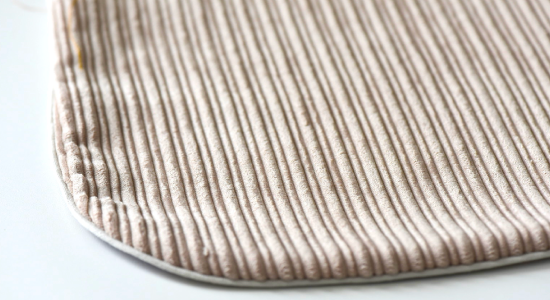
Then superimpose the two pieces right sides together and sew a seam while ironing on the piping stitch. Notch the round parts and turn the work over: your flap is ready.
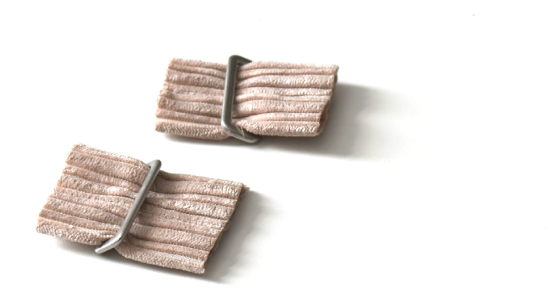
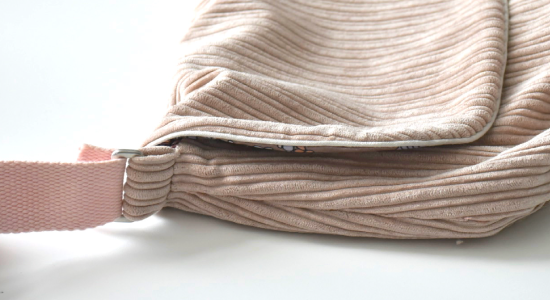
Step 4 : The Loops
I myself made small loops 3cm wide that I insert into metal buckles. They will be used to put the strap.
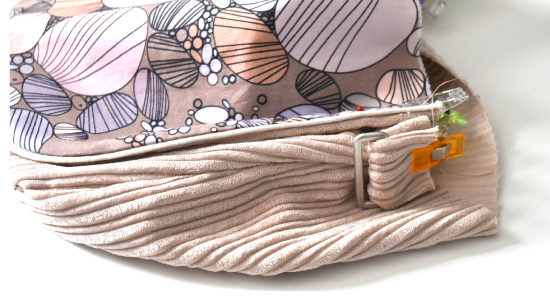
Step 5 : Assemble the bag
Start by pinning the flap to the body.
Then add the loops by pinning it on each side of the body.
Two options :
- Just like me fix everything well (using clips or pins) and everything will be sewn together with the lining
- Already sew the flap and the loops for more ease
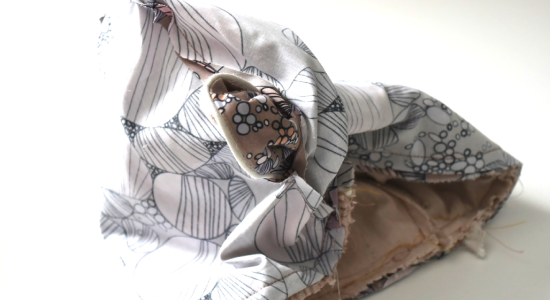
Step 6 : Lining of the bag
Start by making the lining by sewing right sides together the 2 pieces and leaving an opening of 10cm at the bottom.

Then tuck the bag into the lining. Pin well then sew a seam around the edge taking into account all the pieces and thicknesses.
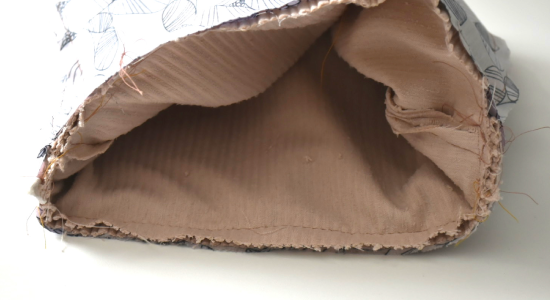
Turn the bag over through the opening left in the lining and close with a blind stitch.
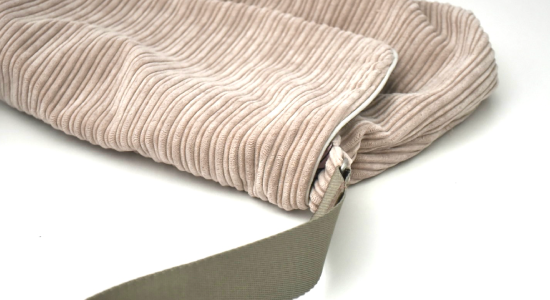
Step 7 : The strap
Calculate the length of strap needed depending on how you want to wear your bag. Then put the strap through the loops and sew.
Step 8 : Snap button
Now all you have to do is add your snap button...
Your messenger bag is ready !
See you soon,
L.
Les Tissus du Chien Vert - 12/14/2023 09:22:02
Bonjour CGB, En fait la réponse est dans votre question ☺ puisqu’il y a des fronces sur le corps, la doublure est forcément plus petite. Et puisqu’il s’agir d’une seule pièce (avec arrondi) il faut que le coupon doublure soit plus petit dans son ensemble (en largeur et en hauteur). À bientôt !
CBG - 12/10/2023 23:19:07
Merci pour le patron et le tuto.Je comprends que le corps soit plus large que la doublure puisqu'on le plisse, mais pourquoi est-il 2 cm plus profond? Merci de votre aide
Alriq - 10/28/2023 17:59:00
J'en ai fait un, je suis hyper fière, mais votre tuto y est pour quelque chose! merci beaucoup
Marlène - 01/20/2023 16:05:59
Explications au top et plutôt rapide à réaliser! Très contente de cette nouvelle trouvaille...
Catherine Duchêne - 11/24/2022 15:10:47
J'avais un magnifique tissu jacquard, maintenant j'ai un magnifique sac besace. Je ne suis pas couturière depuis longtemps mais le tuto est parfait!