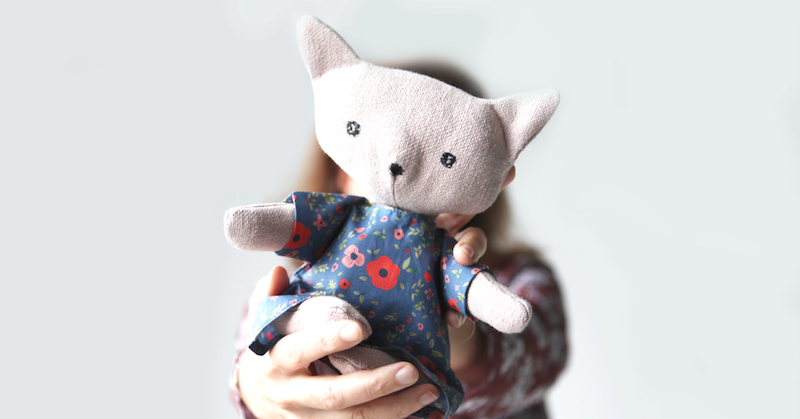
Sewing tutorial - «CAT» doll
Lockdown sewing or how to combine lockdown with fun! I thought about how to use different fabric scraps and braid trims that I still had ... And here is the fruit of my inspiration of the day: a pretty CAT doll that I can give or keep for myself ... I still have to decide ... Here is the pattern and tutorial.
Supplies:
- fabric cloth of 35x60cm
to make the doll
- 15x50cm fabric of your choice
to dress your doll
- 1 piece of braid trim
to «dress up» your doll
- 2 snap buttons
- padding
with filling or a ball of strips of very thin cut fabric
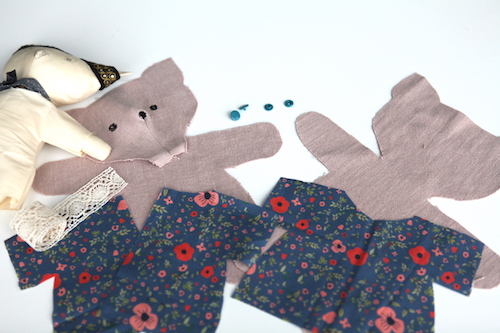
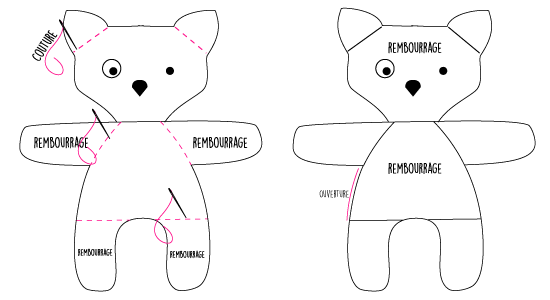
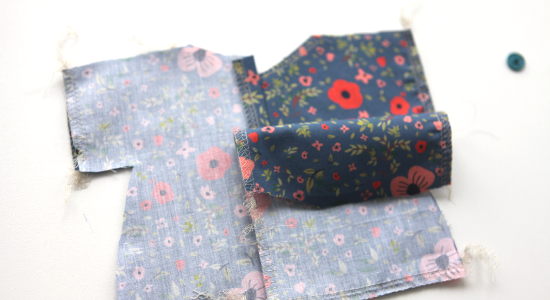
Step 1 : cut out shapes
Print out the pattern and cut out the shapes for your cat doll. You have now:
1x front of the head and 1 x body
1x back of the body
1x front of the garment (be careful to the folds of fabrics)
2x back of the garment
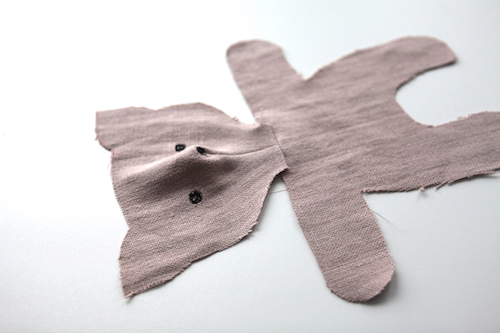
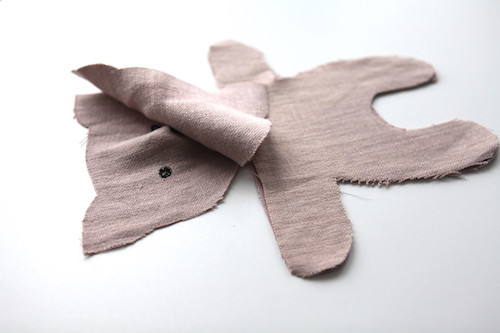
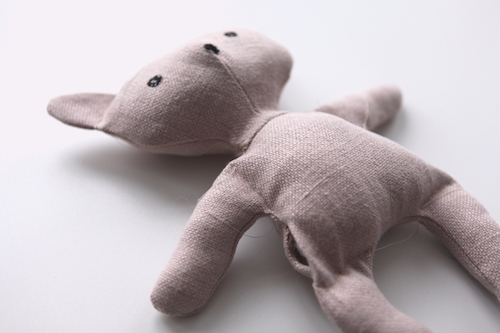
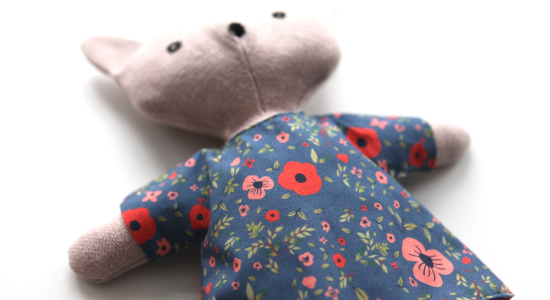
Step 2 : the head
Take the front of the head in front of you. Draw eyes and a nose with either a small hand stitch or an embroidery stitch with the sewing machine. You can also add whiskers if you want. Fold the front piece in 2 right sides together and sew 0.5cm from the edge to the bottom according to the scheme. It will give volume to the head.
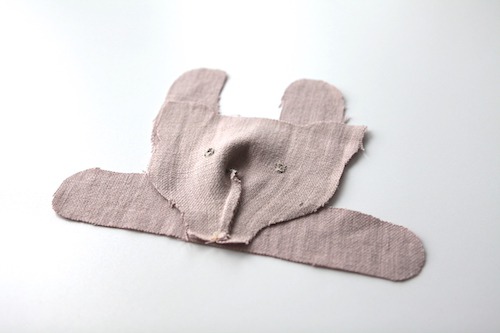
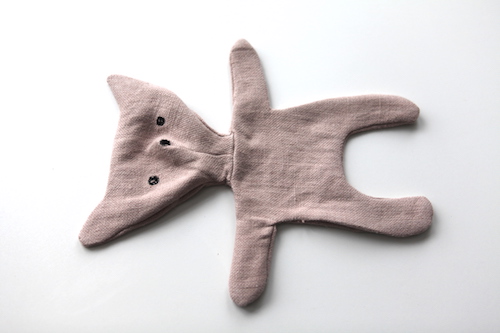
Then sew this one right sides together at 1cm on the middle of the front upper body (see scheme). You now have the front of the doll.
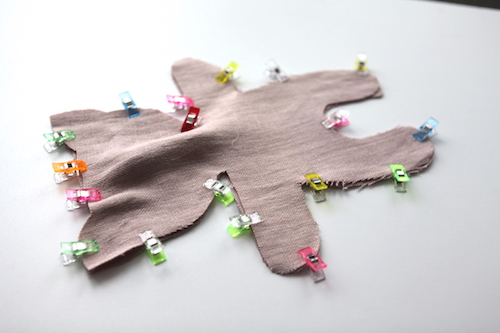
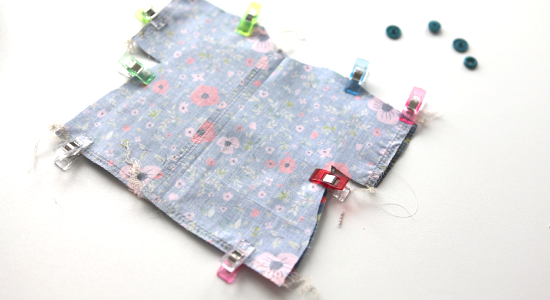
Step 3 : the body
Pin the 2 pieces right sides together and sew all around leaving an opening of 4cm on the side.
Clip into the corners and turn the piece over. Flatten the shape well and mark with an iron.
Take your padding and fill in the arms and legs. Sew as shown on the scheme (a little lower on the page).
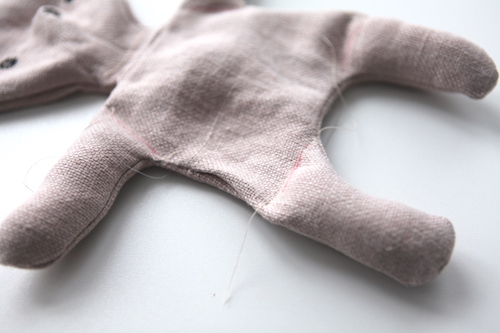
Then continue to fill the head and body well, then close everything with an invisible seam. Use a rod to push in the padding properly otherwise it's a bit of a hassle.
Sewing scheme:
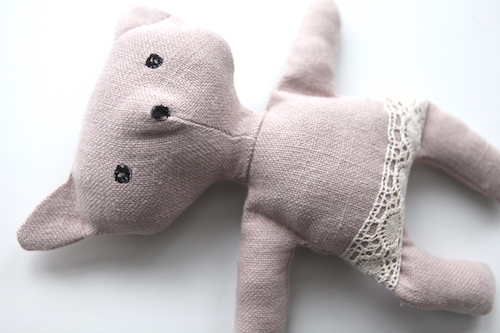
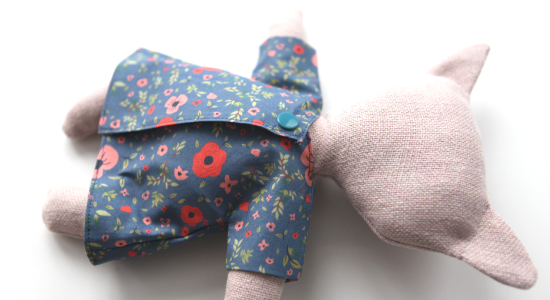
Step 4 : dress up
I decided to make her some semblance of lingerie with a small piece of english embroidery for fun. But be creative and indulge yourself with what you have at home!
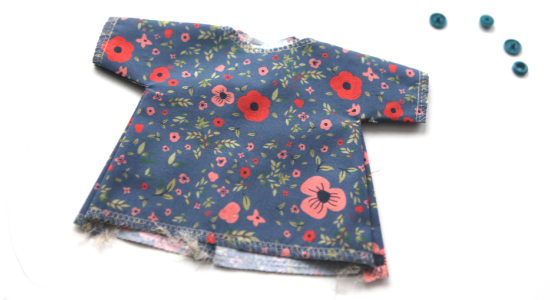
Time for the dress:
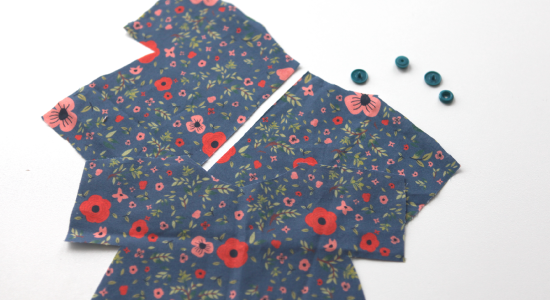
Let's start from the back: overlock the edges of all the pieces (or do a zigzag stitch). Then fold over 0.6cm on one side and 1.5cm on the other and finally sew it. Also overlock the parts for the front.
Now put the back pieces on the front piece right sides together. The outer edges should match. Sew both sides of the arms and body. Turn over and iron.
Finish the edges with a small hem.
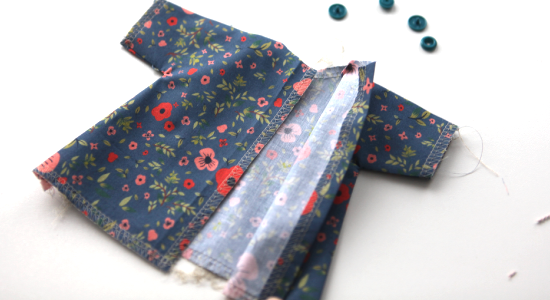
All you have to do is put 2 snap buttons and put it on "dolly"?
It's finished ! It's up to you to choose her name ...
See you soon,
L.
Les Tissus du Chien Vert - 04/11/2022 08:19:20
Bonjour, Le lien du patron se trouve dans la liste des fournitures ;-)
CRIS - 04/08/2022 20:41:23
je trouve ce doudou chat trop chou mais où se trouve le patron ?
francoise - 01/24/2022 17:27:03
merci beaucoup pour la mise a disposition de ce patron , je vis essayer d'en realiser plusieurs pour une association qui recupère les chats errants ...et qui une fois par an fait un sorte de kermesse afin de recolter quelques fonds pour aider a l'achat des besoins des matous ..merci encore ! et bravo pour votre blog ..francoise d'avignon (brebis2020@orange.fr )