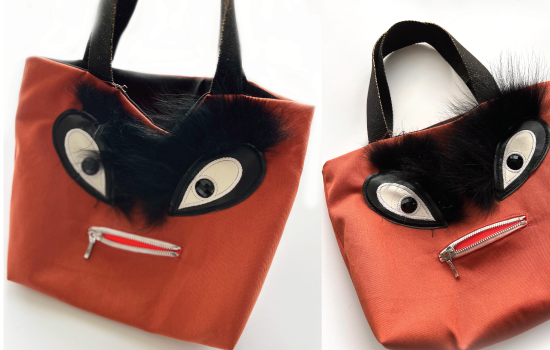
DIY - The Halloween candy bag
"Trick or treat!" Sew this practical Halloween-themed totebag with this little monster head. And when you open the bag... SURPRISE! Your kids can go trick-or-treating :-)
Material
- a 90x35 cm fabric cloth for the bag. I used a plain fawn orange cotton gabardine.
- a 90x35 cm fabric cloth for the lining. I opted for a basic black cotton.
- 2 pieces of fabric of 12x12 cm for the pocket
- 1 piece of interfacing
- 1 pair of eyes. Eyes in with faux fur for the eyebrows.
- 1 zipper of +/- 10cm
- 80cm black strap with golden thread
Step 1: Cutting and placing the zipper
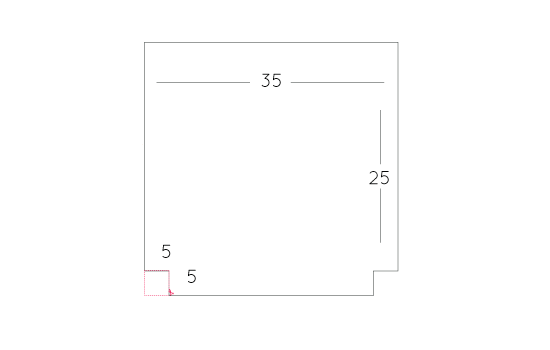
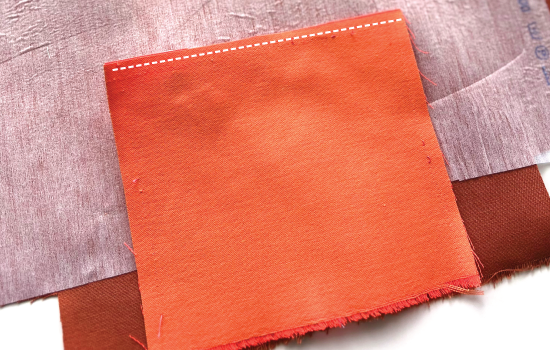
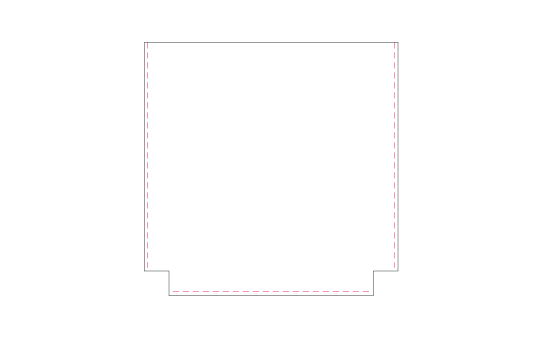
Following the cutting diagram below, cut out the 2 sides required for the bag and lining from the respective fabrics you've chosen.
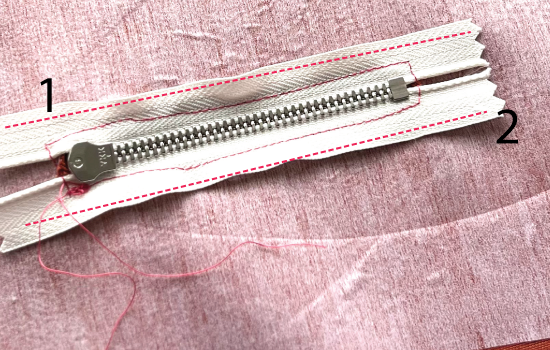
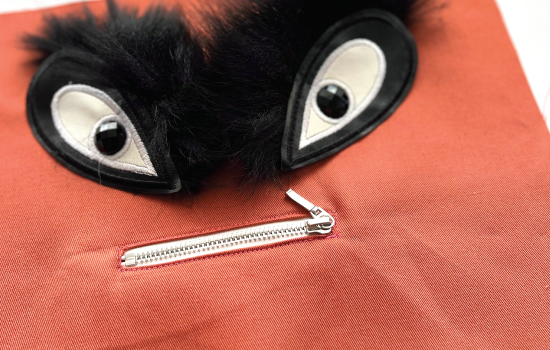
Take one side (the one that will become the decorated side of the bag). Mark a rectangle the size of your zipper on the right side. On the wrong side of the interfaced fabric, place this small rectangle. This will be the "mouth" of the little monster. Here's a little diagram to help you:
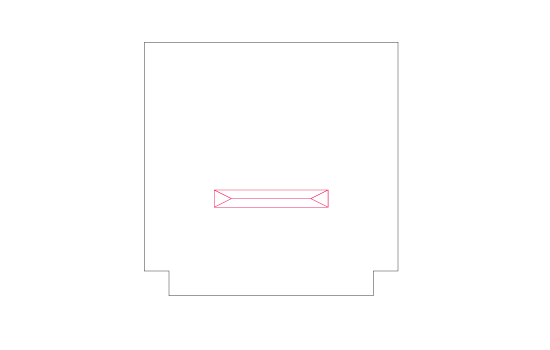
here I've drawn a rectangle measuring 10.5cm by 1.5cm for my zipper, which measures 10cm.
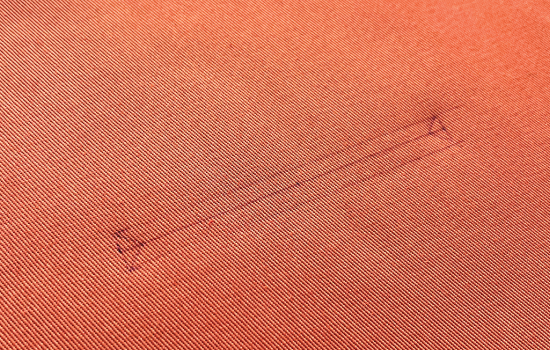
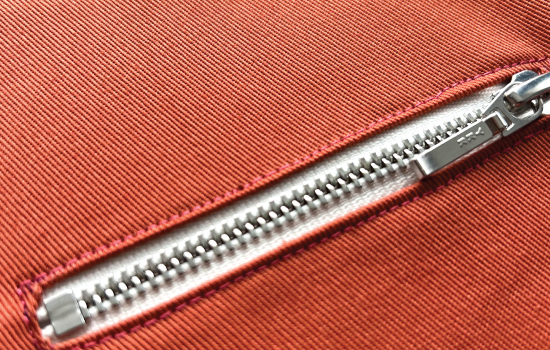
Cut along the tracing and fold over on the wrong side with your iron to obtain an opening the size of your zipper.
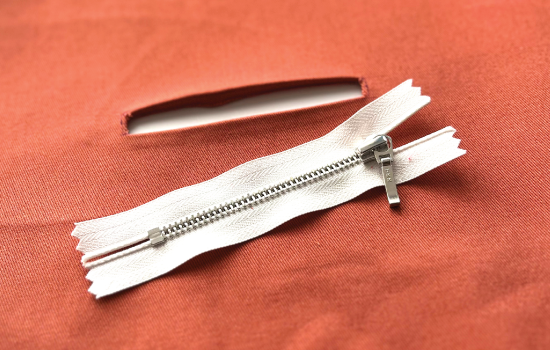
Place your zipper on the back and sew around the edge.
And here's what you get on the front:
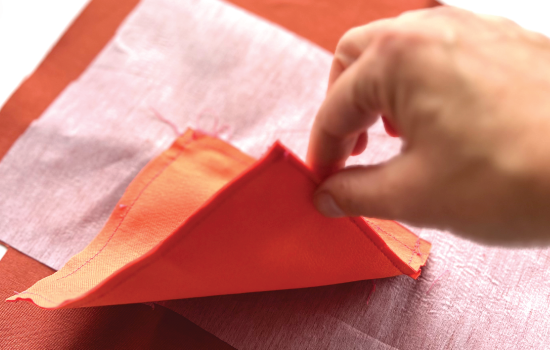
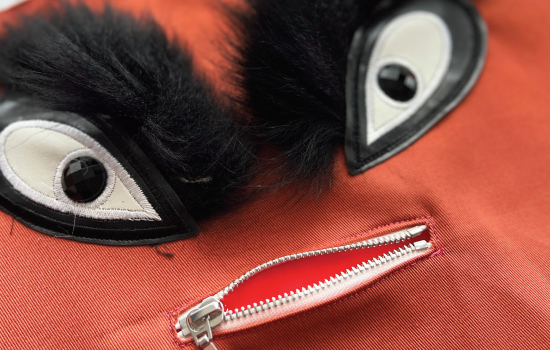
Step 2: the surprise pocket
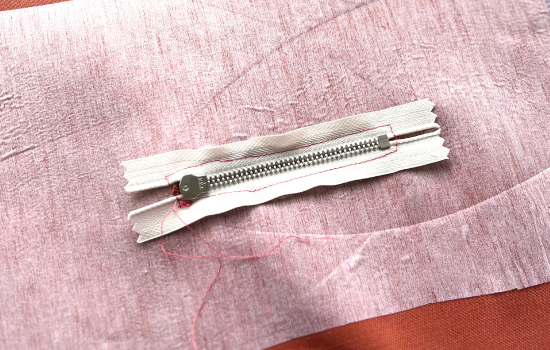
Take the 2 small 12x12cm rectangles. Place the first one right-side-up on the zipper (which we've just placed on the front of the bag).
Sew over the top of your zipper without taking the front of the bag (like a classic zipper break). Then take the second piece and repeat with the other end of the zipper.
Now close the pocket on the other 3 sides without touching the front of your bag. This pocket must be free.
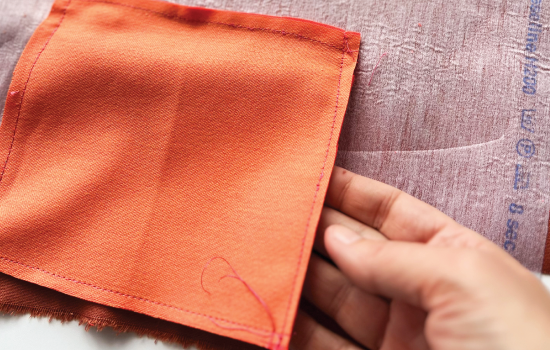
Here's how it looks when you open the zipper:

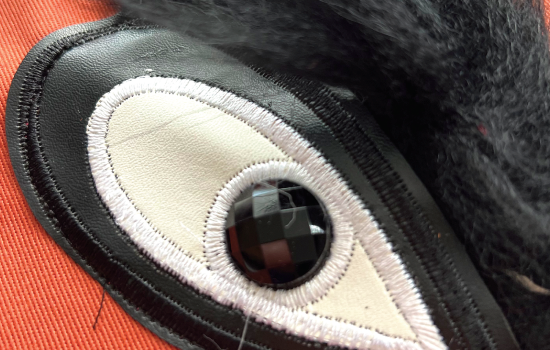
Step 3: the eyes
Take your front piece and position the eyes as desired above the closure (the little monster's mouth). Sew around the edges with a straight stitch.
It's taking shape!
Booooh...
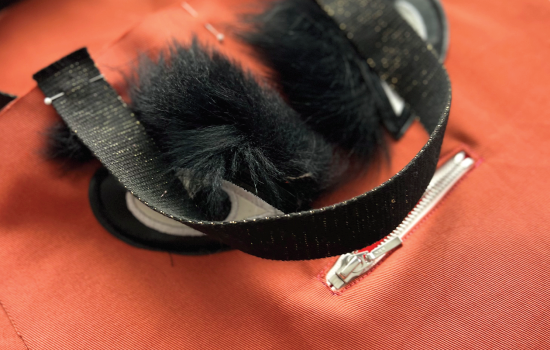
Step 4: Candy bag handles
Now for the straps: Pin them in the center as shown in the photo, 12cm apart. Repeat on the back of the bag. Either leave like this, or secure with a small stitch. They'll be caught in the lining seam a little later anyway.
Step 5: Assemble the bag
With right sides together, sew as shown in the diagram, using a straight stitch.
Sew the gussets at the bottom:

The outside of your bag is finished. Now for the lining: repeat the above operation, this time leaving a 10cm opening at the bottom so you can find your bag later.
Then tuck your lining into the bag, right sides together. Pin all around and sew.
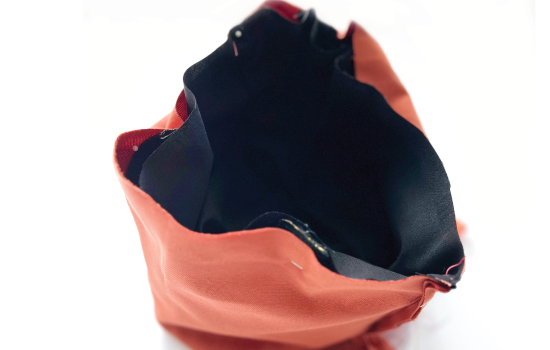
Turn over and your Halloween candy bag is finished!
Have fun,
L.
Kennethcique - 10/29/2023 07:28:22
Thanks, +