DIY the Clutch bag
A minimalist, very practical handbag for carrying the minimum you need! This clutch bag features a decorative strap to match the chosen fabric. It will surely complete your look. Here's how to sew a pretty clutch bag:

Material:
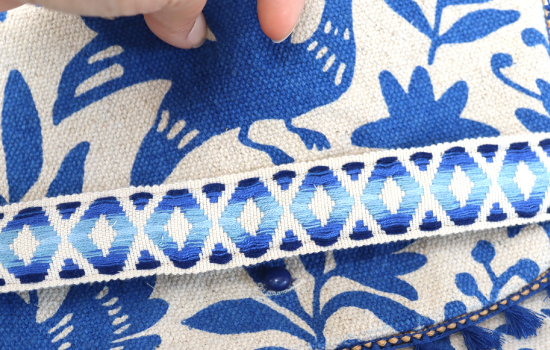
- 1 piece of 65X33CM fabric for the bag. I chose this cotton upholstery fabric with Otomi inspired pattern.
- 1 piece of 65X33CM fabric of your choice for the lining
- 1 button
- 35CM strap
- 35CM of jacquard braid trim
- 35CM of braid trim with fringes
- the pattern free to download here
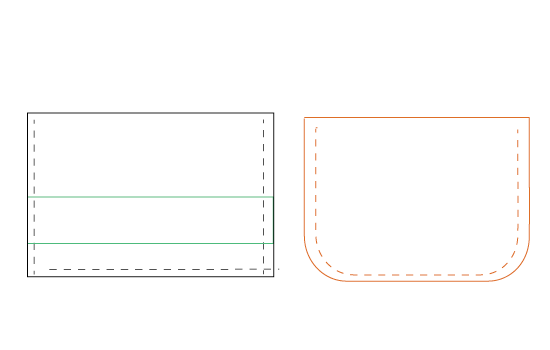
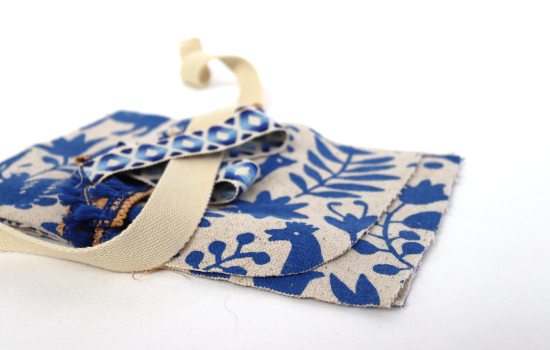
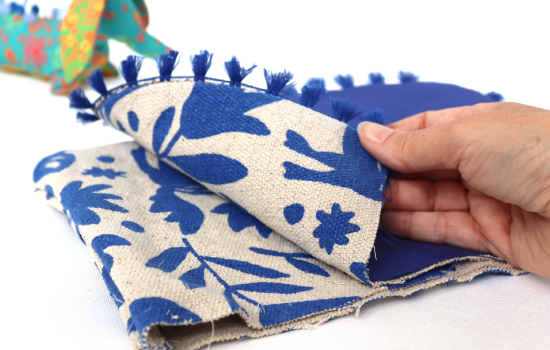
Step 1 : the flap
Cut your pieces according to the pattern. Take the rounded piece and place the braid trim with fringes around the edge.
Place the lining right sides together and sew around the rounded edge. Be careful not to sew the right side.
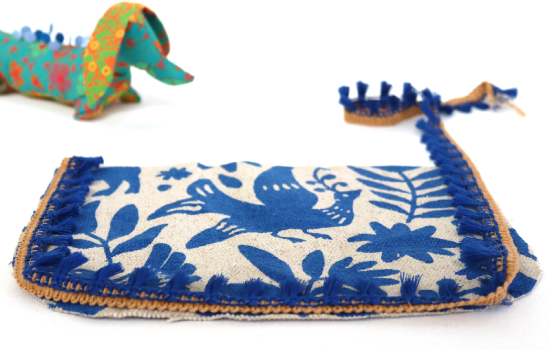
Step 2: the body of the clutch
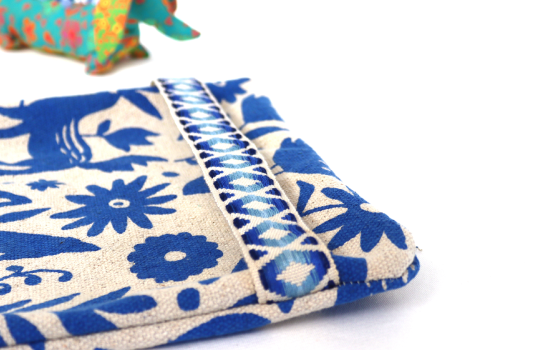
Place and sew the braid trim onto the strap. You've got your decorative lanyard to match the fabric.
Take the 2 rectangle pieces previously cut according to the pattern. Place the 7cm lanyard right sides together on one side. Place the other side right sides together and sew the 3 sides together.
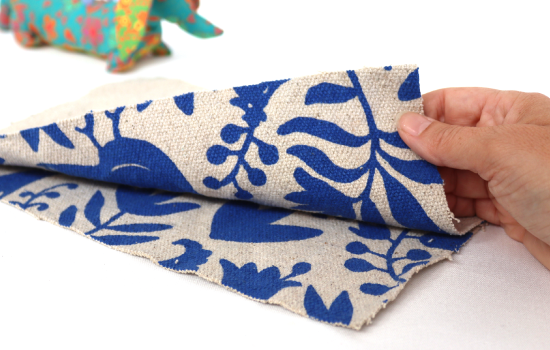
Turn it inside out and the body of your bag is created.
Step 3: assemble
PLace the flap right sides together on the bag.
And sew the flap on the back at 0.5CM. Then fold the flap forward and position your button. Sew with a buttonhole.
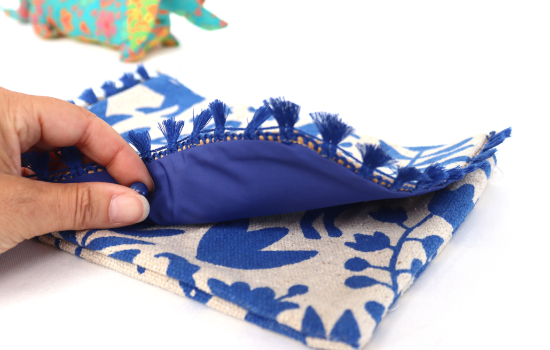
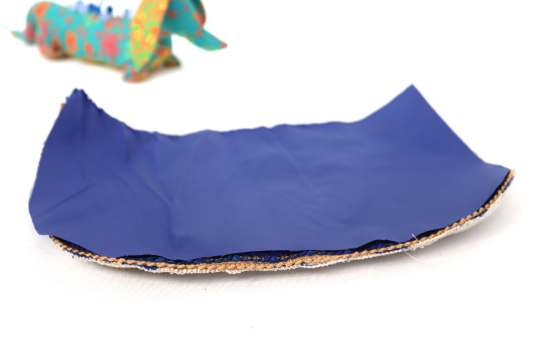
Step 4: lining the clutch bag
Make the lining using the pre-cut rectangles provided: sew the 3 sides right sides together, leaving an 8cm opening on the long side.

Slide your bag right side out into your lining, which is inside out. Sew around the edge and turn inside out through the opening left in the lining.
Close with a hand stitch... Your clutch bag is ready.