DIY - How to sew mittens
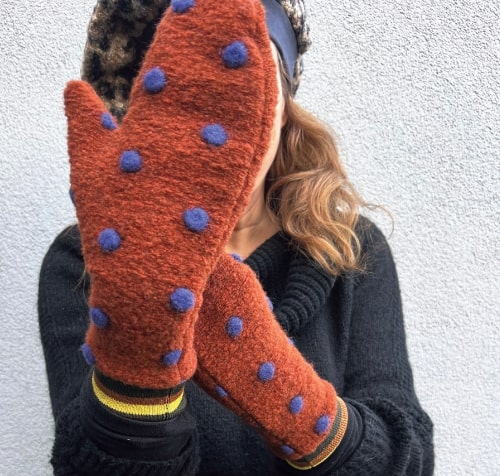
I'm sewing my mittens! THE perfect sewing idea for winter :) Here's an easy tutorial for sewing this model of mittens with cuffing fabric that stays on your wrist and insulate your hands from the cold or snow.

What fabrics should I use to sew these mittens?
You need mittens that are both warm and comfortable for your hands. Choose a fabric that is soft or slightly extensible and pleasant to the touch. You'll only need a small amount of fabric, so don't forget to recycle your scraps!
Depending on your tastes and the outfit you want to match, you can use all sorts of warm materials: faux fur, thick knitwear, bouclé wool, fleece or even a duffled sweater.
For this version, I've used a wool looking knitted fabric with large dots, which you can find in the wool category.
How do I sew warm mittens ?
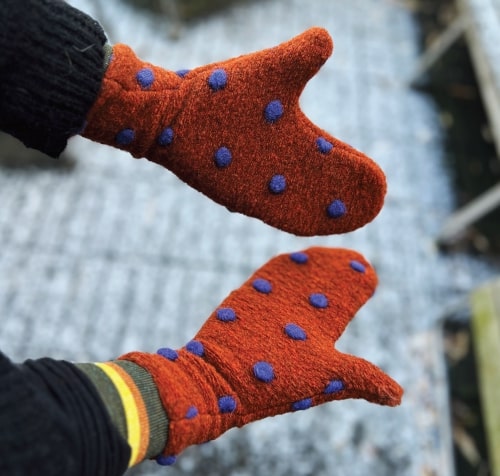
I came up with this model, which is a little longer than a traditional mitten, and I added a cuffing fabric to hold it properly on my forearm. The idea is to make a mitten that slips under the sleeves of my jacket above the wrist for greater comfort and, above all, complete insulation. That way I don't let the cold or the snow in!
What you need to sew a pair of mittens
- 1 piece of fabric (80x35cm) warm and nice
- sewing thread
- 1 scissors
- 1 piece of cuffing fabric +/-40cm
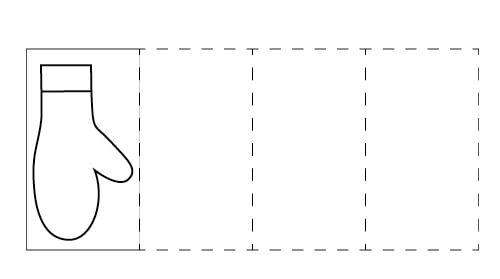
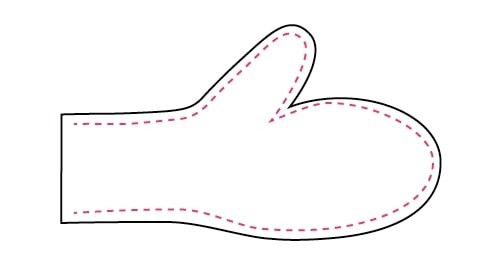
- le template to print on an A4 sheet. This is a version with a short handle to be adapted to your hand.
Step 1: Adjust the template
Print out the template and place your hand on it to adjust it to your size. For ease of use, add a good 1 cm to the tips of your fingers and hand. If the fabric you have chosen is not really extensible, you can add a little more edge, up to 2 cm. At this point, you can choose whether you want the short or long version at wrist level: adjust your design ;-)
Step 2: Making the body of the mittens
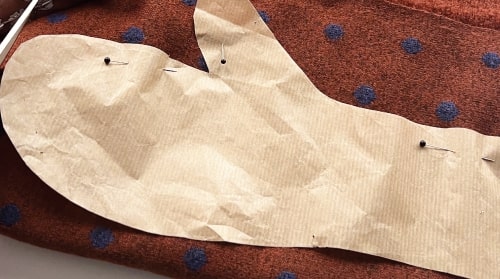
Take your piece of fabric and fold it accordion-style to make 4 sides.
Pin on your template, trace and cut out your 4 sides.
Divide into 2 pairs and place the 2 sides of each mitten right sides together.
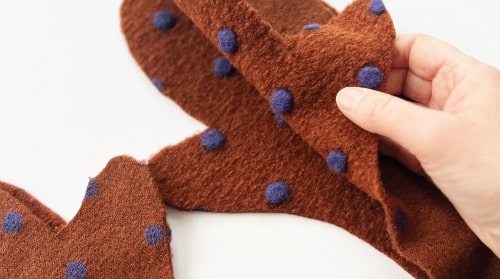
Sew around the edges like this, 1cm from the edge:
Trim the rounded edges to make it easier to place once the work has been turned inside out.
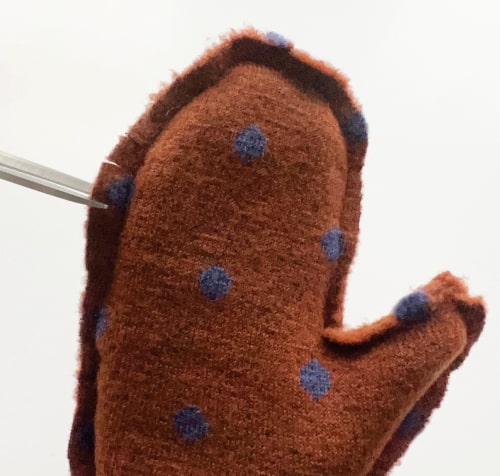
Now is the time to try your mittens on for the first time to make sure they are the right size and comfortable for your fingers. If necessary, correct or reduce the stitching a little (then notch the rounded edges again) to gain a little more space and comfort.
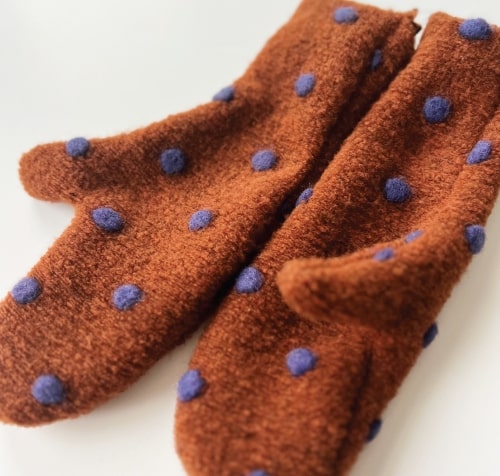
The body of your mittens are now ready!
Step 3: The bottom of the mittens
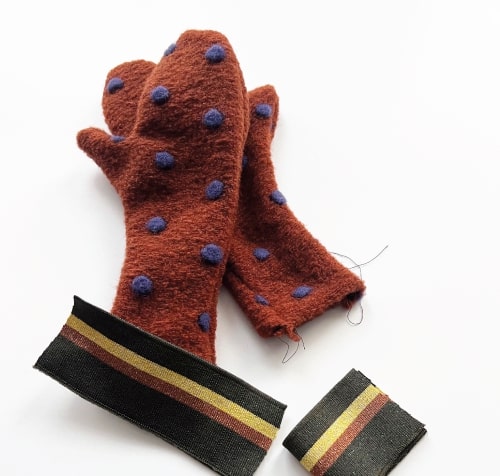
Take the cuffing fabric and wrap it around your wrist, tightening slightly to obtain the desired width (and degree of tightness). Cut two identical pieces for each mitt. Sew them together to form a tube.
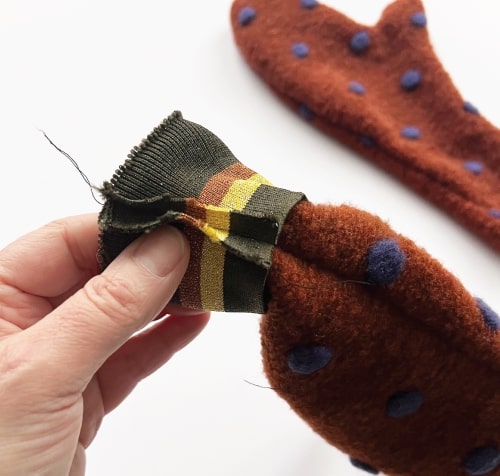
Thread the body of the mitten into the cuffing fabric right sides together and sew around the edge, matching the seams.
And that's it, your mittens are ready!
See you soon,
L.
