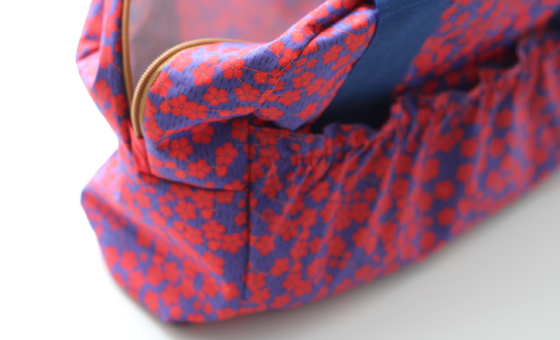
Sewing tutorial - large format case
I had this idea of a case but in a larger format this time. It can be suitable for various uses such as toiletry & makeup bag, compact changing bag, transporting jewelry or underwear ... Long story short, it's always useful! Here is the tutorial ...
This DIY is more for experienced seamstresses. If you are just starting out, I advise you to start with simpler bags like the clutch bag, the mini toiletry bag or the shoulder bag [Tutorials to follow soon].
Material to make your XL case :
- 80cm of fabric for the exterior
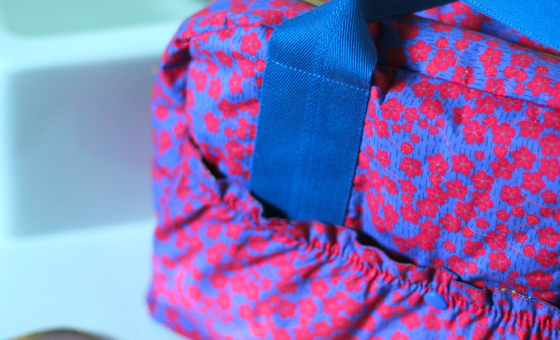
I chose a popeline of coton from the collection Léa (by myself )
- 80cm fabric for the lining
- 80x50 cm Iron on viseline h640 (to strengthen)
- 15x40cm Iron on Decovil (to stiffen the bottom)
- 1 strap of 1,60m
- 1 zipper of more or less 50/55cm
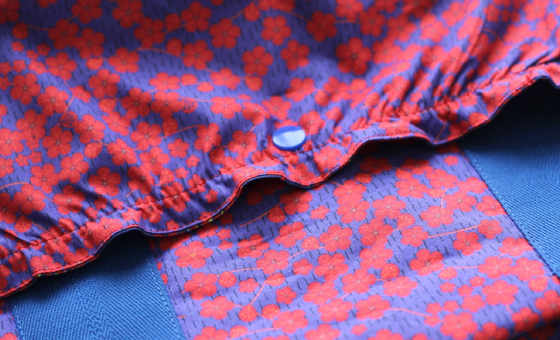
- 1 piece of elastic of 35cm
- 1 plastic snap button of your choice
- the pattern to download here
My finished case measures more or less 35x25cm.
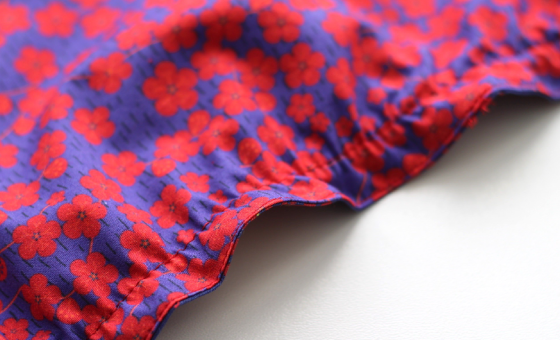
Step 1 : Cut and reinforce
Print the pattern and cut out the shapes for your XL case.
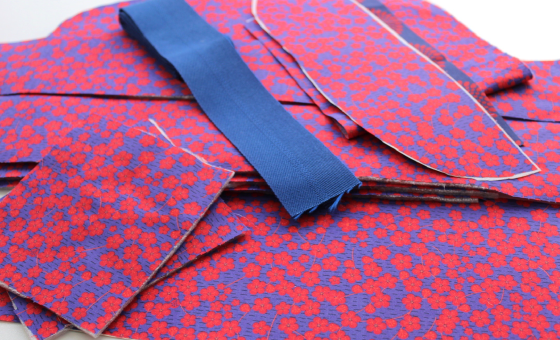
Reinforce all the parts:
- the bottom with the Decovil
- all the other pieces with the H640 except the 2 pieces for the pocket
Warning: do not use steam. Simply put the hot iron down for a few seconds while moving around the piece.
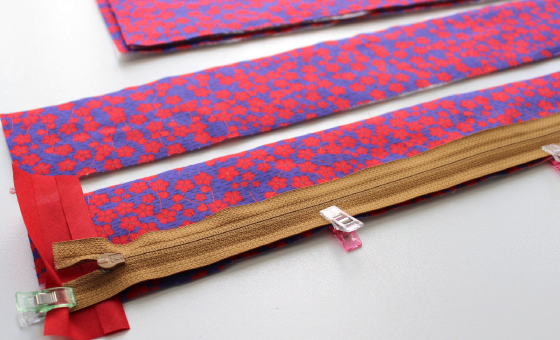
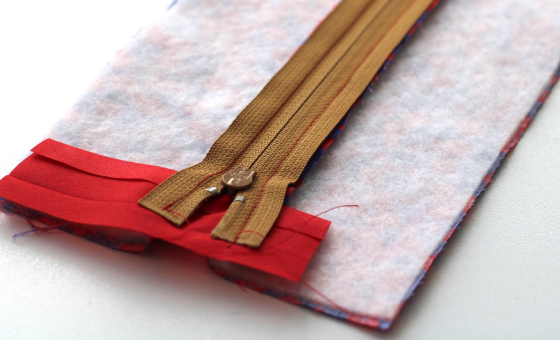
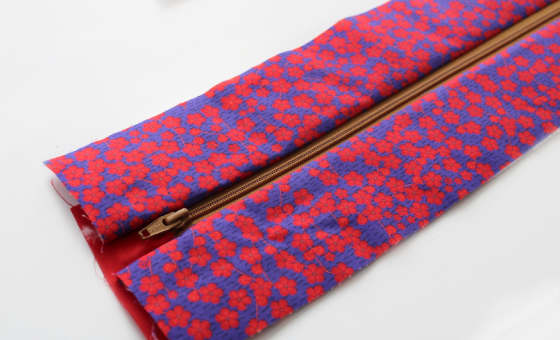
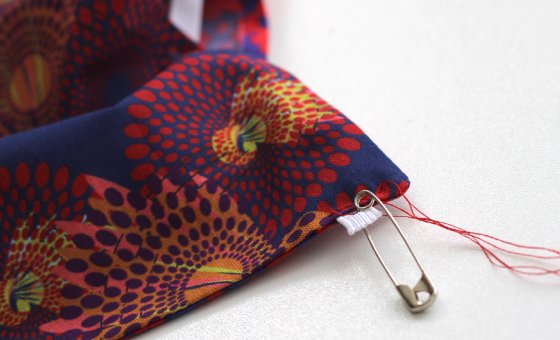
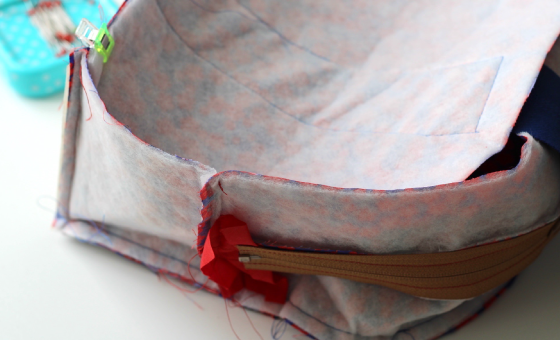
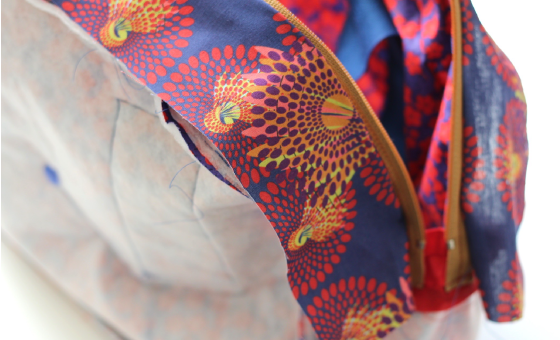
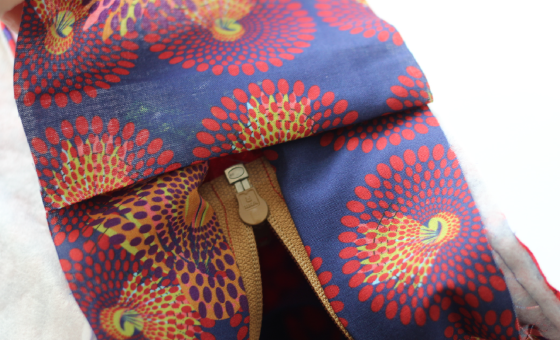
Step 2 : the zipper
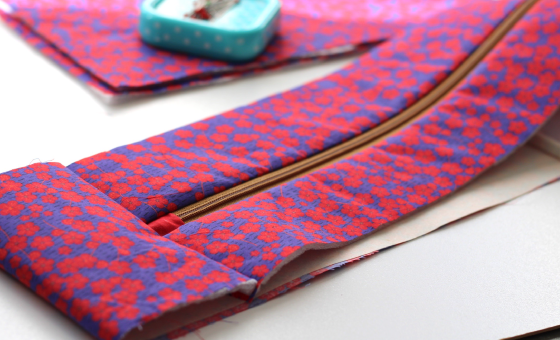
Step 3 : assemble the central part
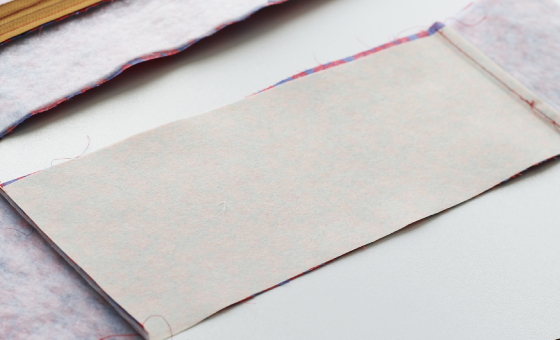
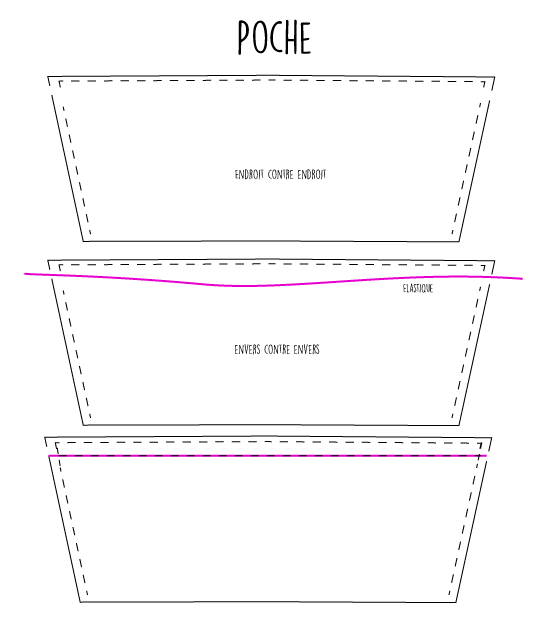
Step 4 : prepare the pocket
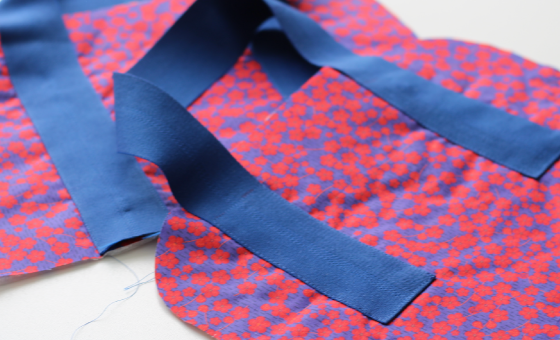
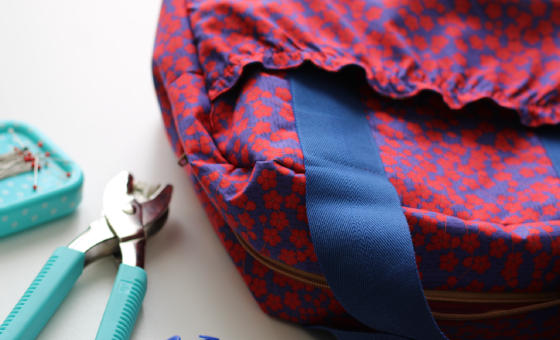
Step 5 : the straps
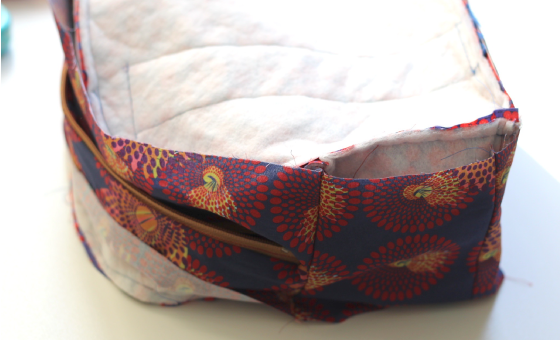
Step 6 : assemble the exterior of the case
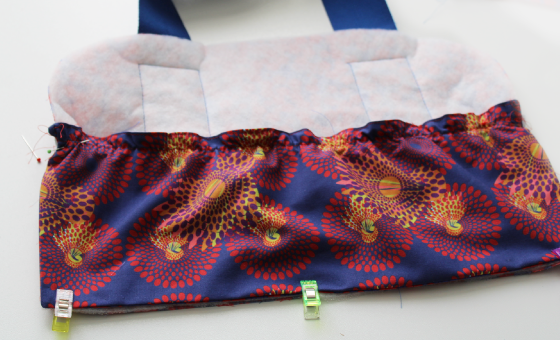
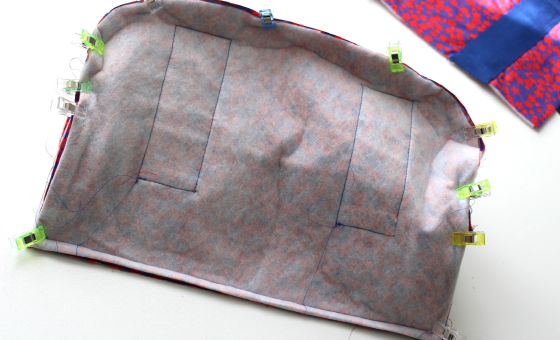
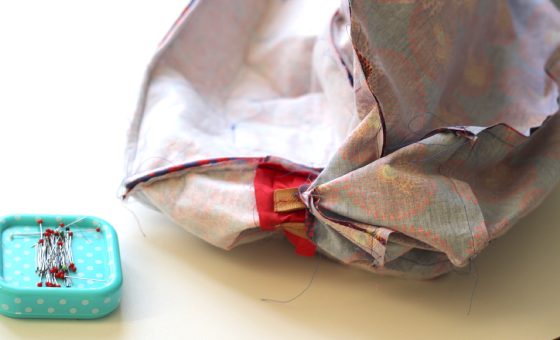
Step 7 : the lining
Start by placing the pieces of the lining by the zipper.
Step 8 : finitions
Chantalou - 01/08/2024 11:41:10
Merci beaucoup pour ce tuto que je vais faire pour ma petite fille adolescente. Votre site connu pour sa qualité est super.
sophiedl - 05/24/2023 19:12:22
trousse tout juste sortie de ma machine. trop jolie (je n'arrive pas à joindre la photo)
Justine - 07/19/2022 15:06:00
Super article ! Une trousse personnalisée c'est génial pour les vacances !
Sandrine - 06/18/2022 07:54:49
Super je cherchais justement à faire une grande trousse de toilette avant le départ de mes petits enfants en voyage. Je vais utiliser votre tutoriel pour faire tout ça. Un grand merci à vous, Sandrine.
tania - 04/28/2022 11:47:23
super site ! je vous conseil cette trousse de toilette personnalisée qui est juste au top ! :)