DIY - the wool poncho
-
Categories :
blouse
, Dress warmly
, Sewing tutorial
Is it cool outside? Don't panic ... Put this pretty wool poncho on ! Enough to cover you during your fall / winter getaways :-) Here is the tutorial:

Material:
To sew a wool poncho :
- 135cm wool fabric with a minimum width of 140cm
- 50cm heavy jersey or knit fabric
- 1 pair of scissors
Step 1
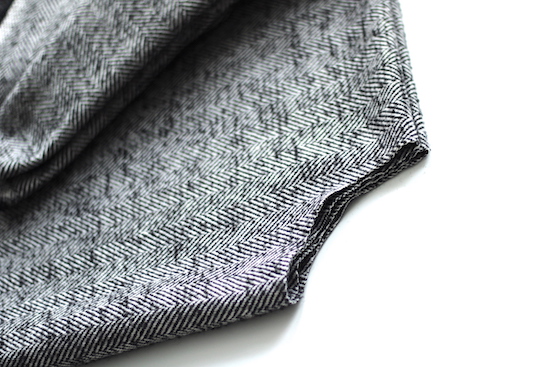
CUT OUT & UNRAVEL
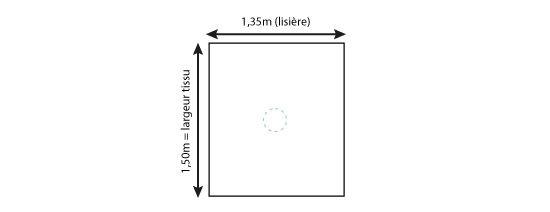
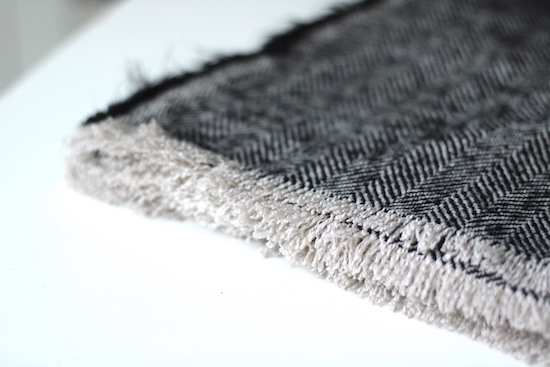
Cut out 1.35m. of your wool fabric. Unravel 2 sides by 2 cm, leaving the edges (lisière - see picture) intact. During the last step, they will be used for the finishing touch for the bottom of your poncho.
Step 2
PREPARE THE NECKLINE
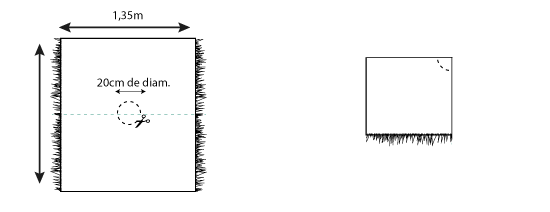
Fold your fabric in 4. Depending on the size of your head, cut a small arc on the corner for the neckline. To help you, make a mark +/- 10cm on each side of the angle. You will have a circle of +/- 20cm once your piece is unfolded.
Step 3
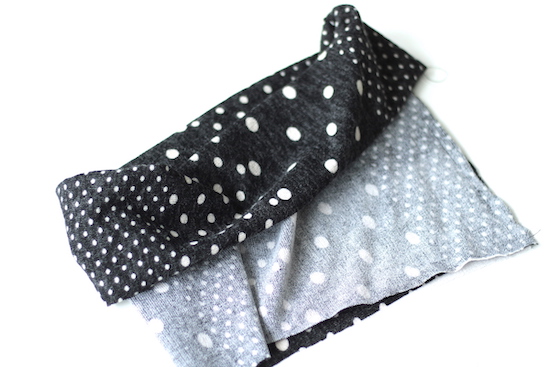
MAKING THE COLLAR
Take your jersey or knit fabric and cut in a 50x40cm piece. Fold it in half lengthwise, right sides together, then sew the side parallel to the fold.
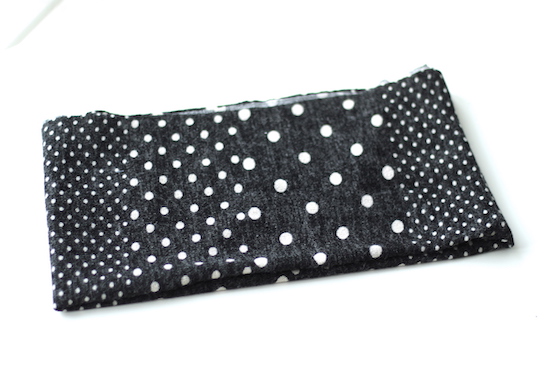
Fold the piece in 2, wrong side against wrong side, to get your collar 20cm wide by 25cm high.
Step 4
PLACING THE COLLAR
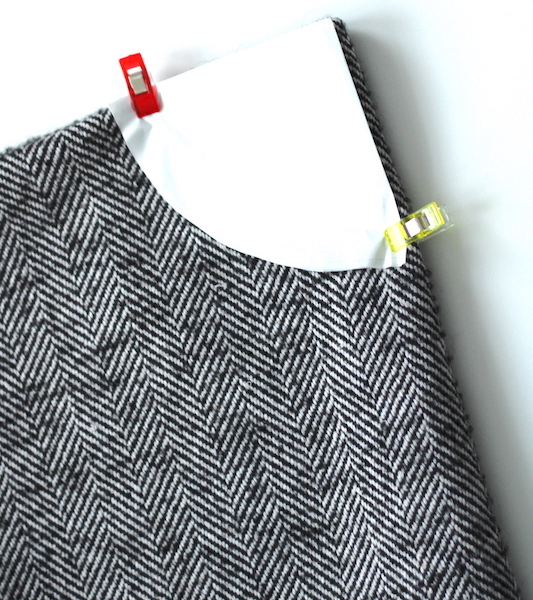
Pin the collar to the opening of the poncho, right sides together, and sew either with a zig zag stitch or with an overlock machine.
Step 5
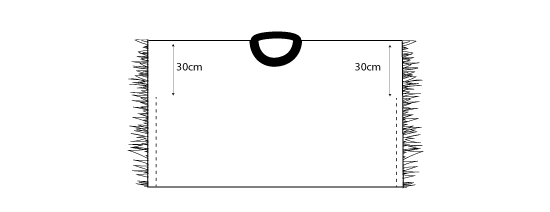
THE ARMHOLES
Sew the sides of your poncho as shown in the diagram to let your arms pass.
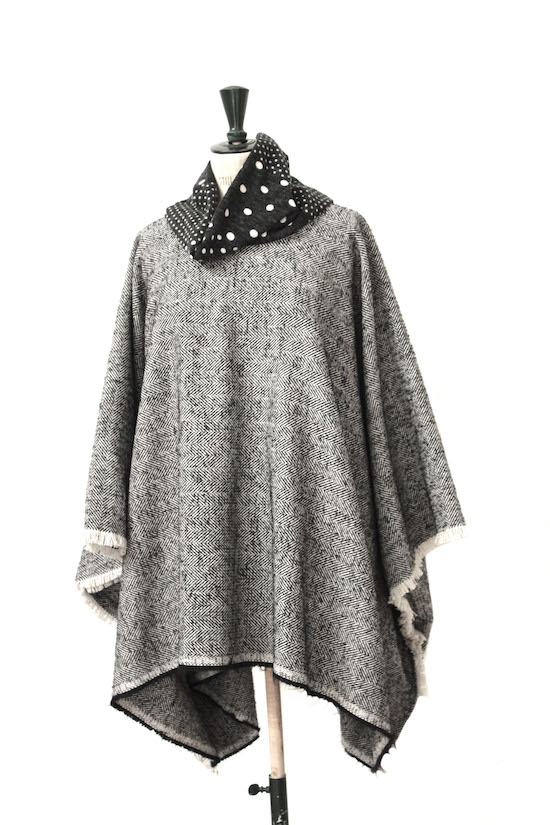
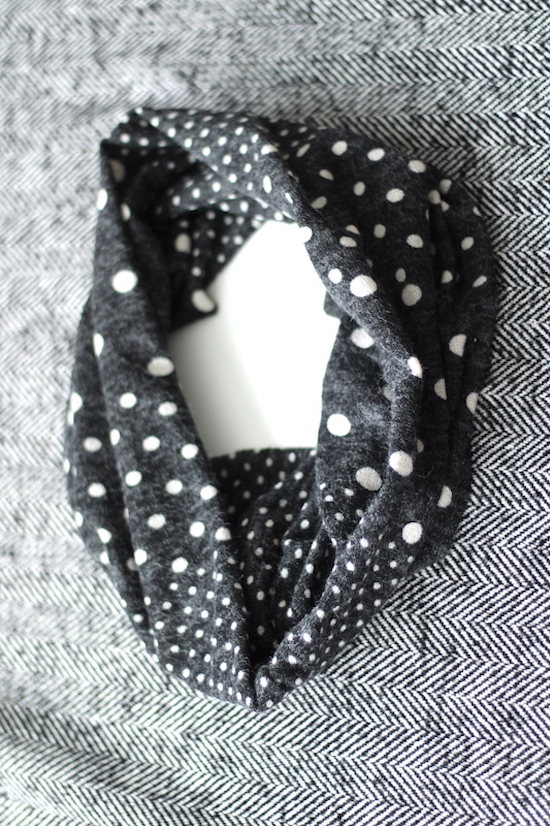
You wool poncho is ready !
See you soon,
L.
Valérie - 11/10/2023 20:38:26
J’adore votre poncho qui me donne très envie !
Stéphanie - 05/07/2023 13:00:14
Très bien expliqué à essayer merci
Escribano Bernadette - 11/18/2022 17:46:23
Patron clair très bien expliqué Semble très facile à faire
Dominique Darras - 10/26/2022 22:39:54
Très intéressant et surtout très clair!
Anne AUBLANC - 10/21/2022 18:06:26
Merci pour ces explications très très précises et détaillées pour la débutante que je suis
Fontana mirka - 10/18/2022 09:19:53
C'est super,facile à réaliser,merci